Browsing Category

DIY

DIY WEDDING INVITATIONS

20280149943_dfcdb460ff_k

In the same fashion that we did our save-the-dates, we are DIY’n the formal invitations using another custom stamp by local stamp-maker, Native Bear. The stamp decision was made long ago but the paper decision was a little more difficult to decide on. Originally I thought I wanted to dip dye watercolor paper with indigo dye but after hearing that it can rub off on your hands and clothes, I nixed that idea. Then I experimented with an ombre’ effect using watercolor and wasn’t totally satisfied with that outcome soooo I went with another idea-

Cyanotypes!

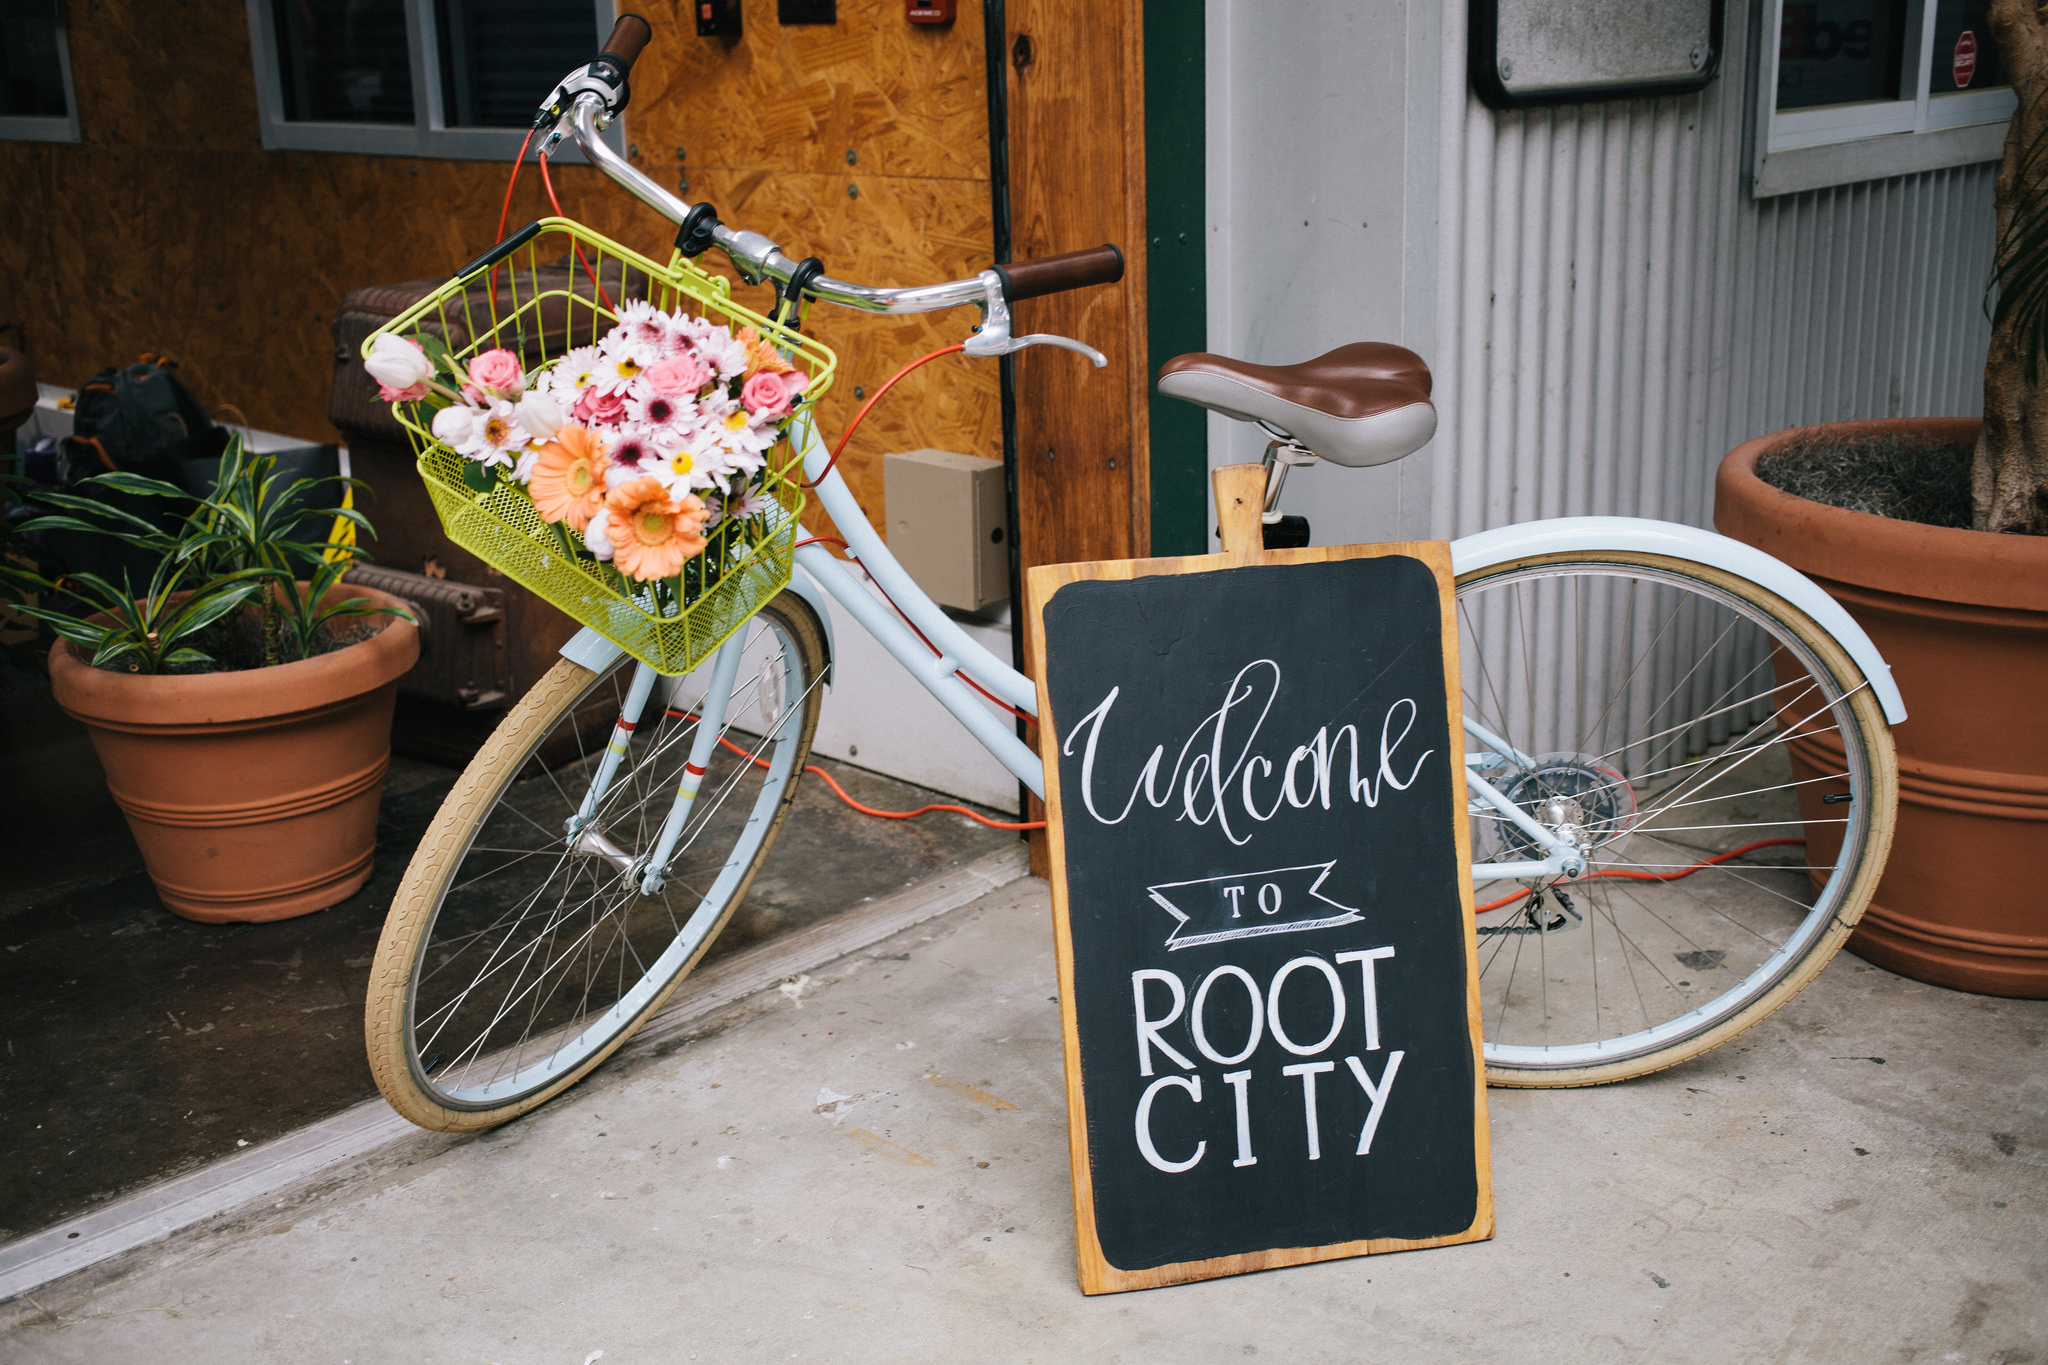
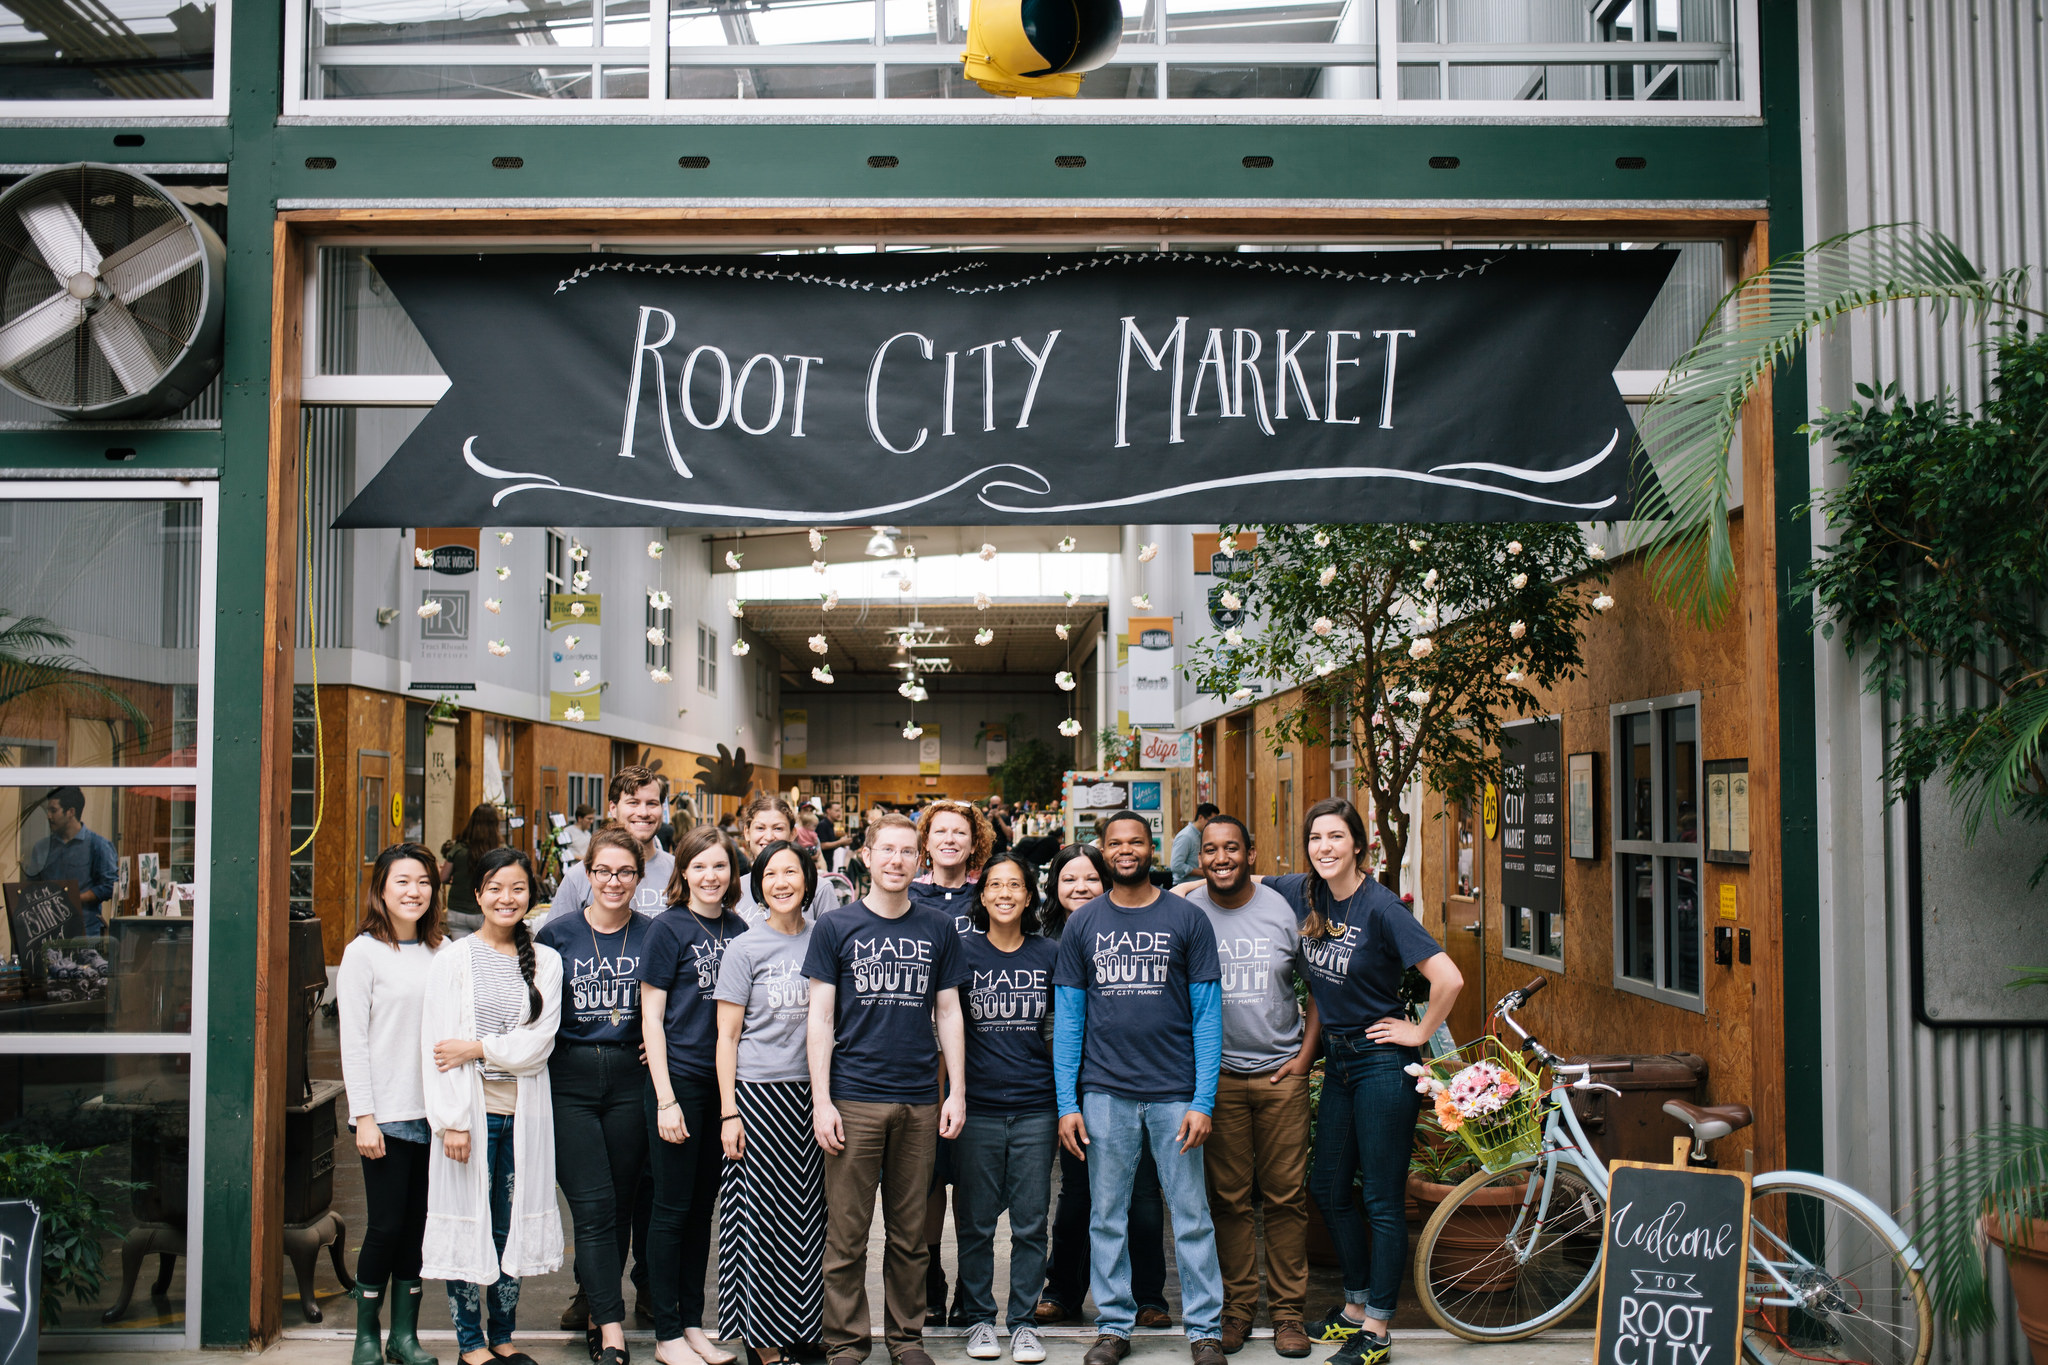
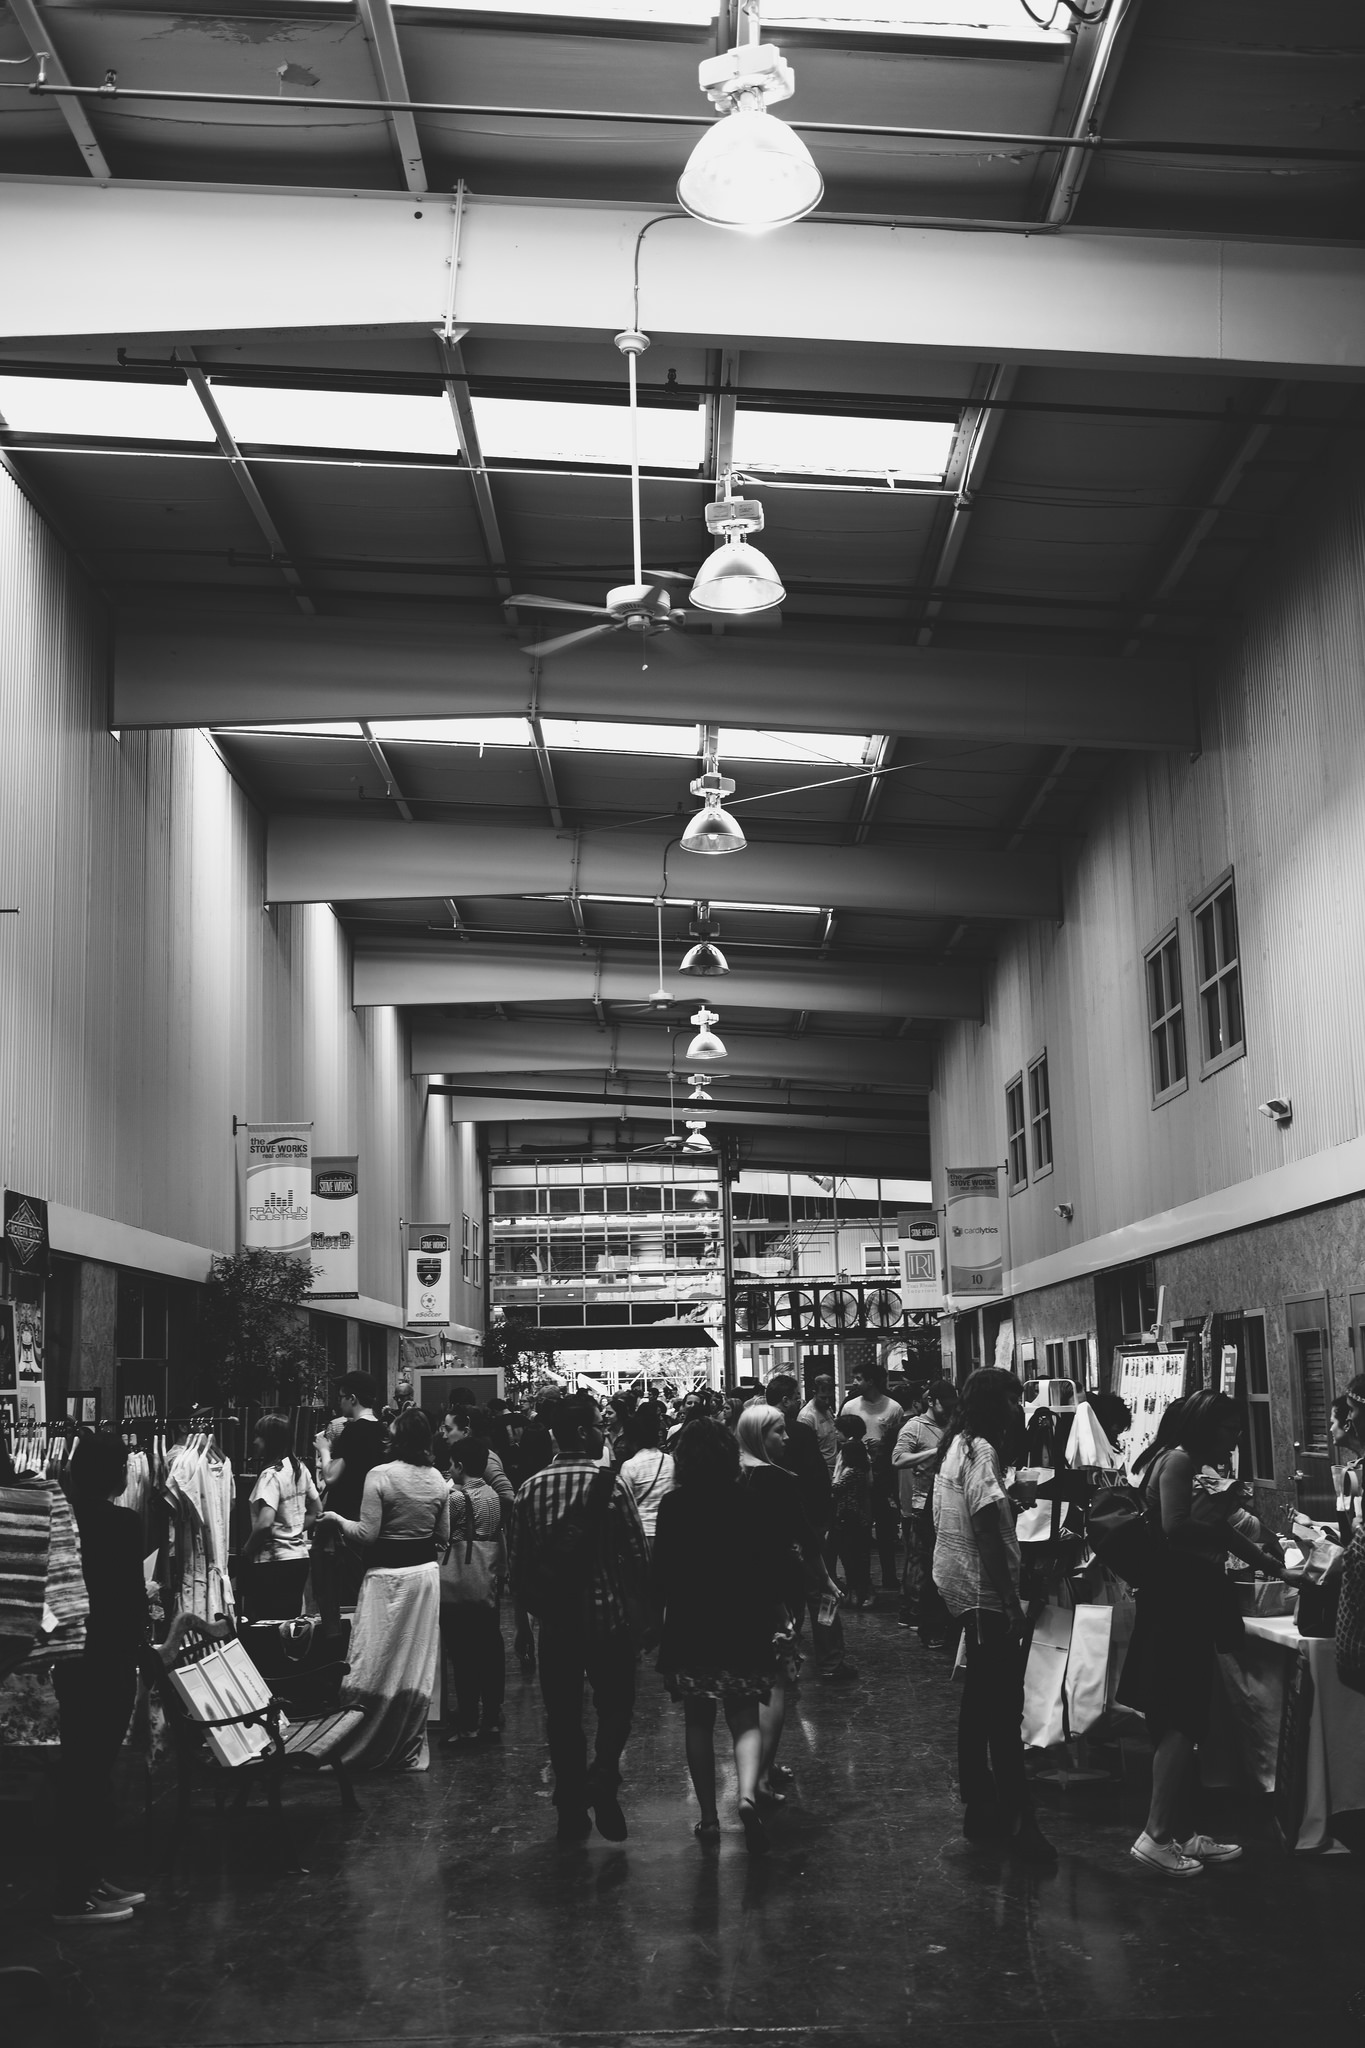
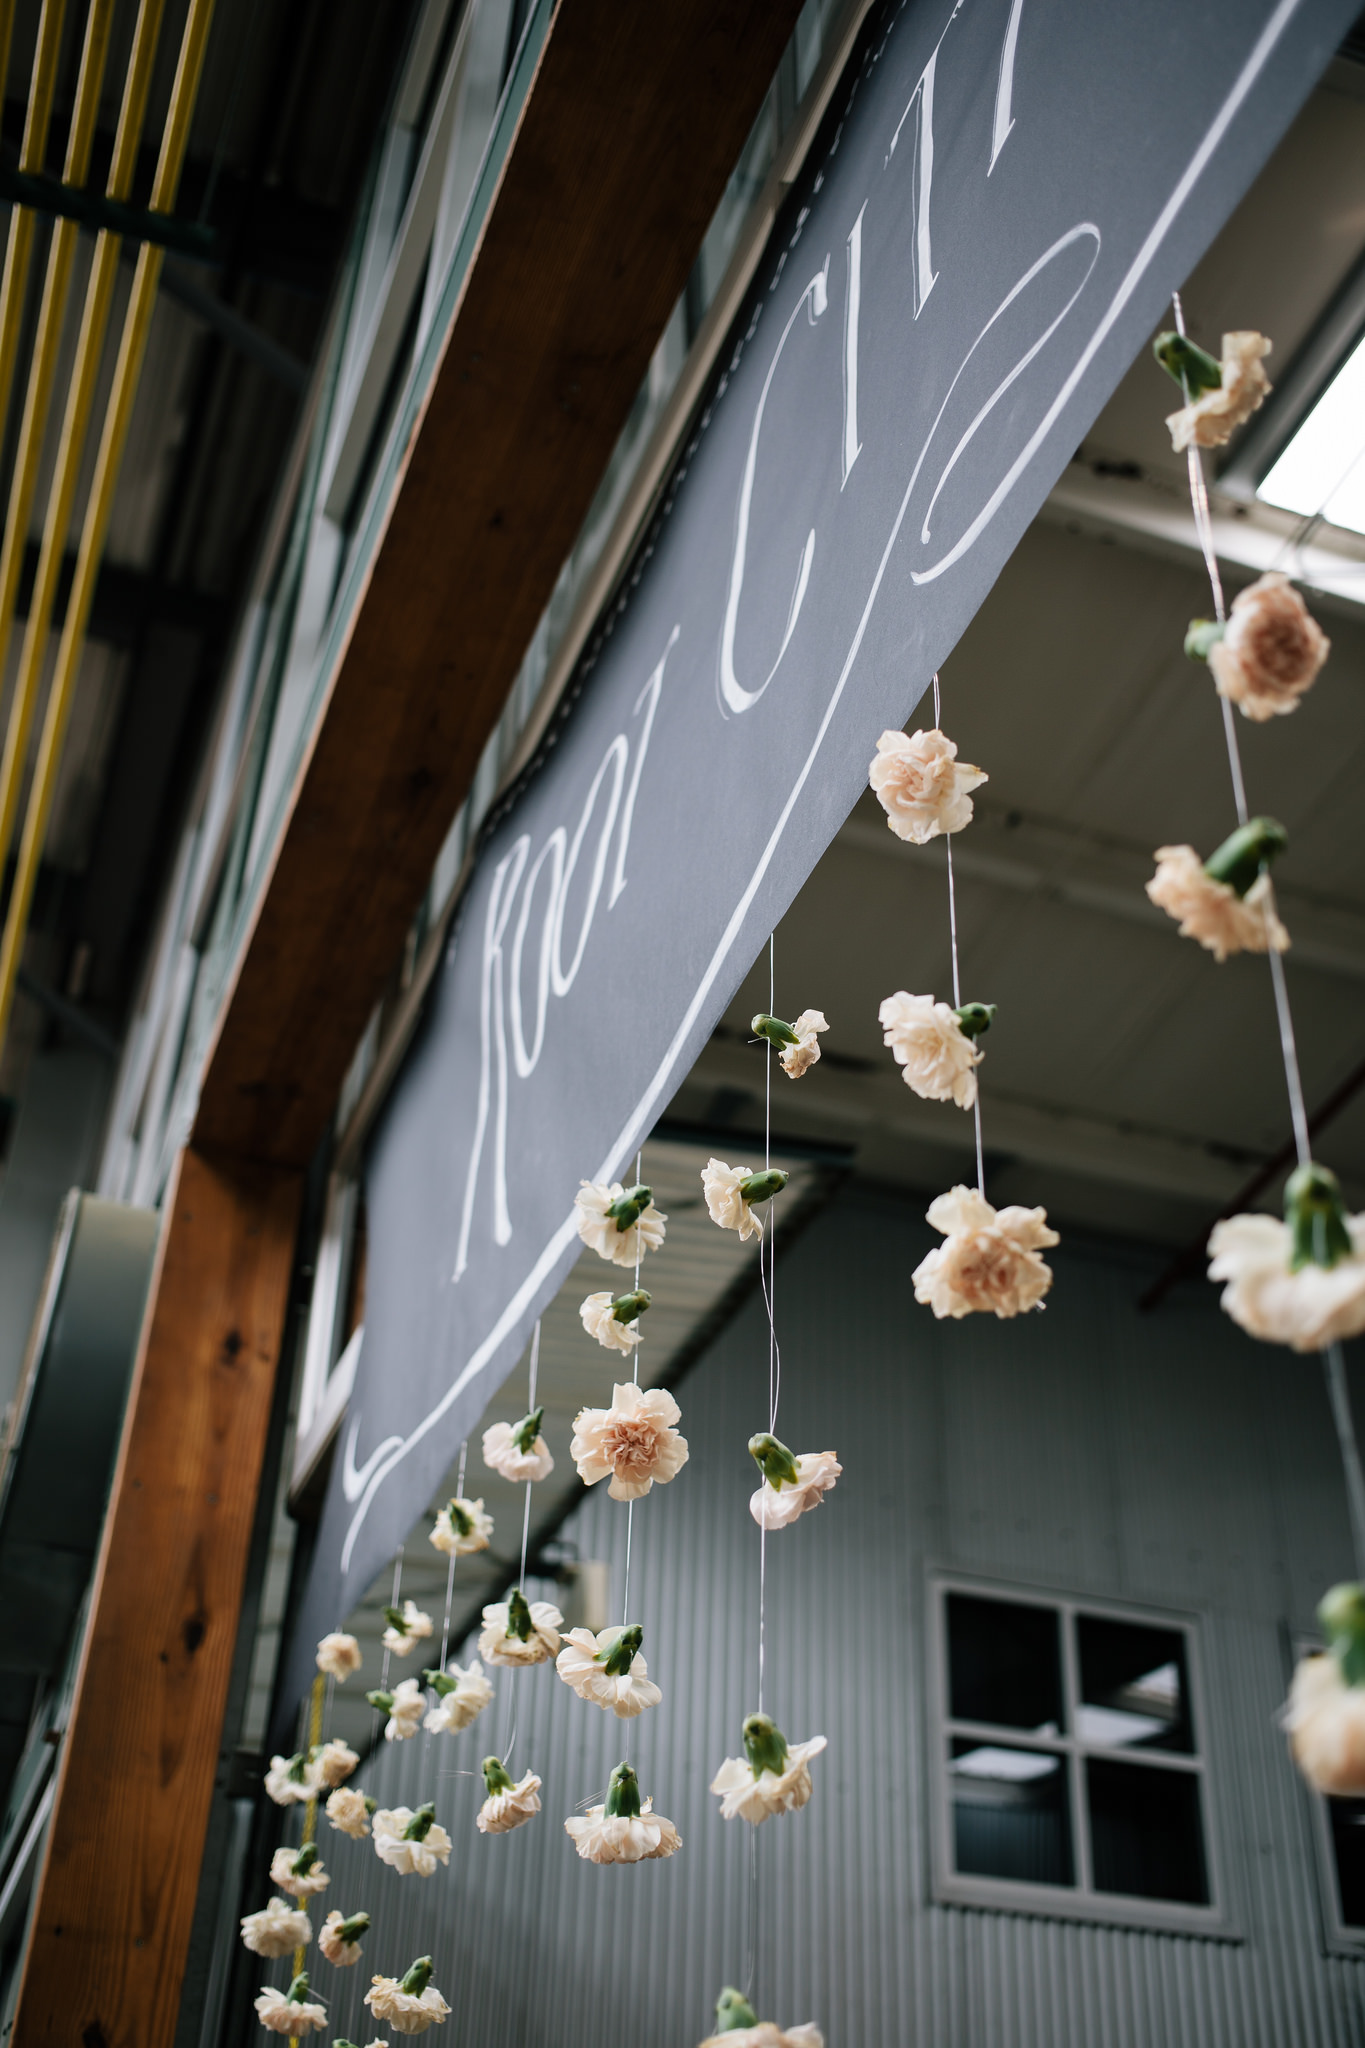
I had first encountered cyanotypes during a Root City Market at one of the interactive booths they have set up for kids (and adults like me that like to craft!) and had fun with the freedom to play around with negative space and loved the bold blue end result. So mom and I ordered 200 5×7 cards from Cyanotype Store and completed step one of our custom invites!

The process is ridiculously easy but here are some pretty step-by-step photos and at the end I’ll share some tips + lessons learned the hard way!

20891447642_4c5f97b3a7_k

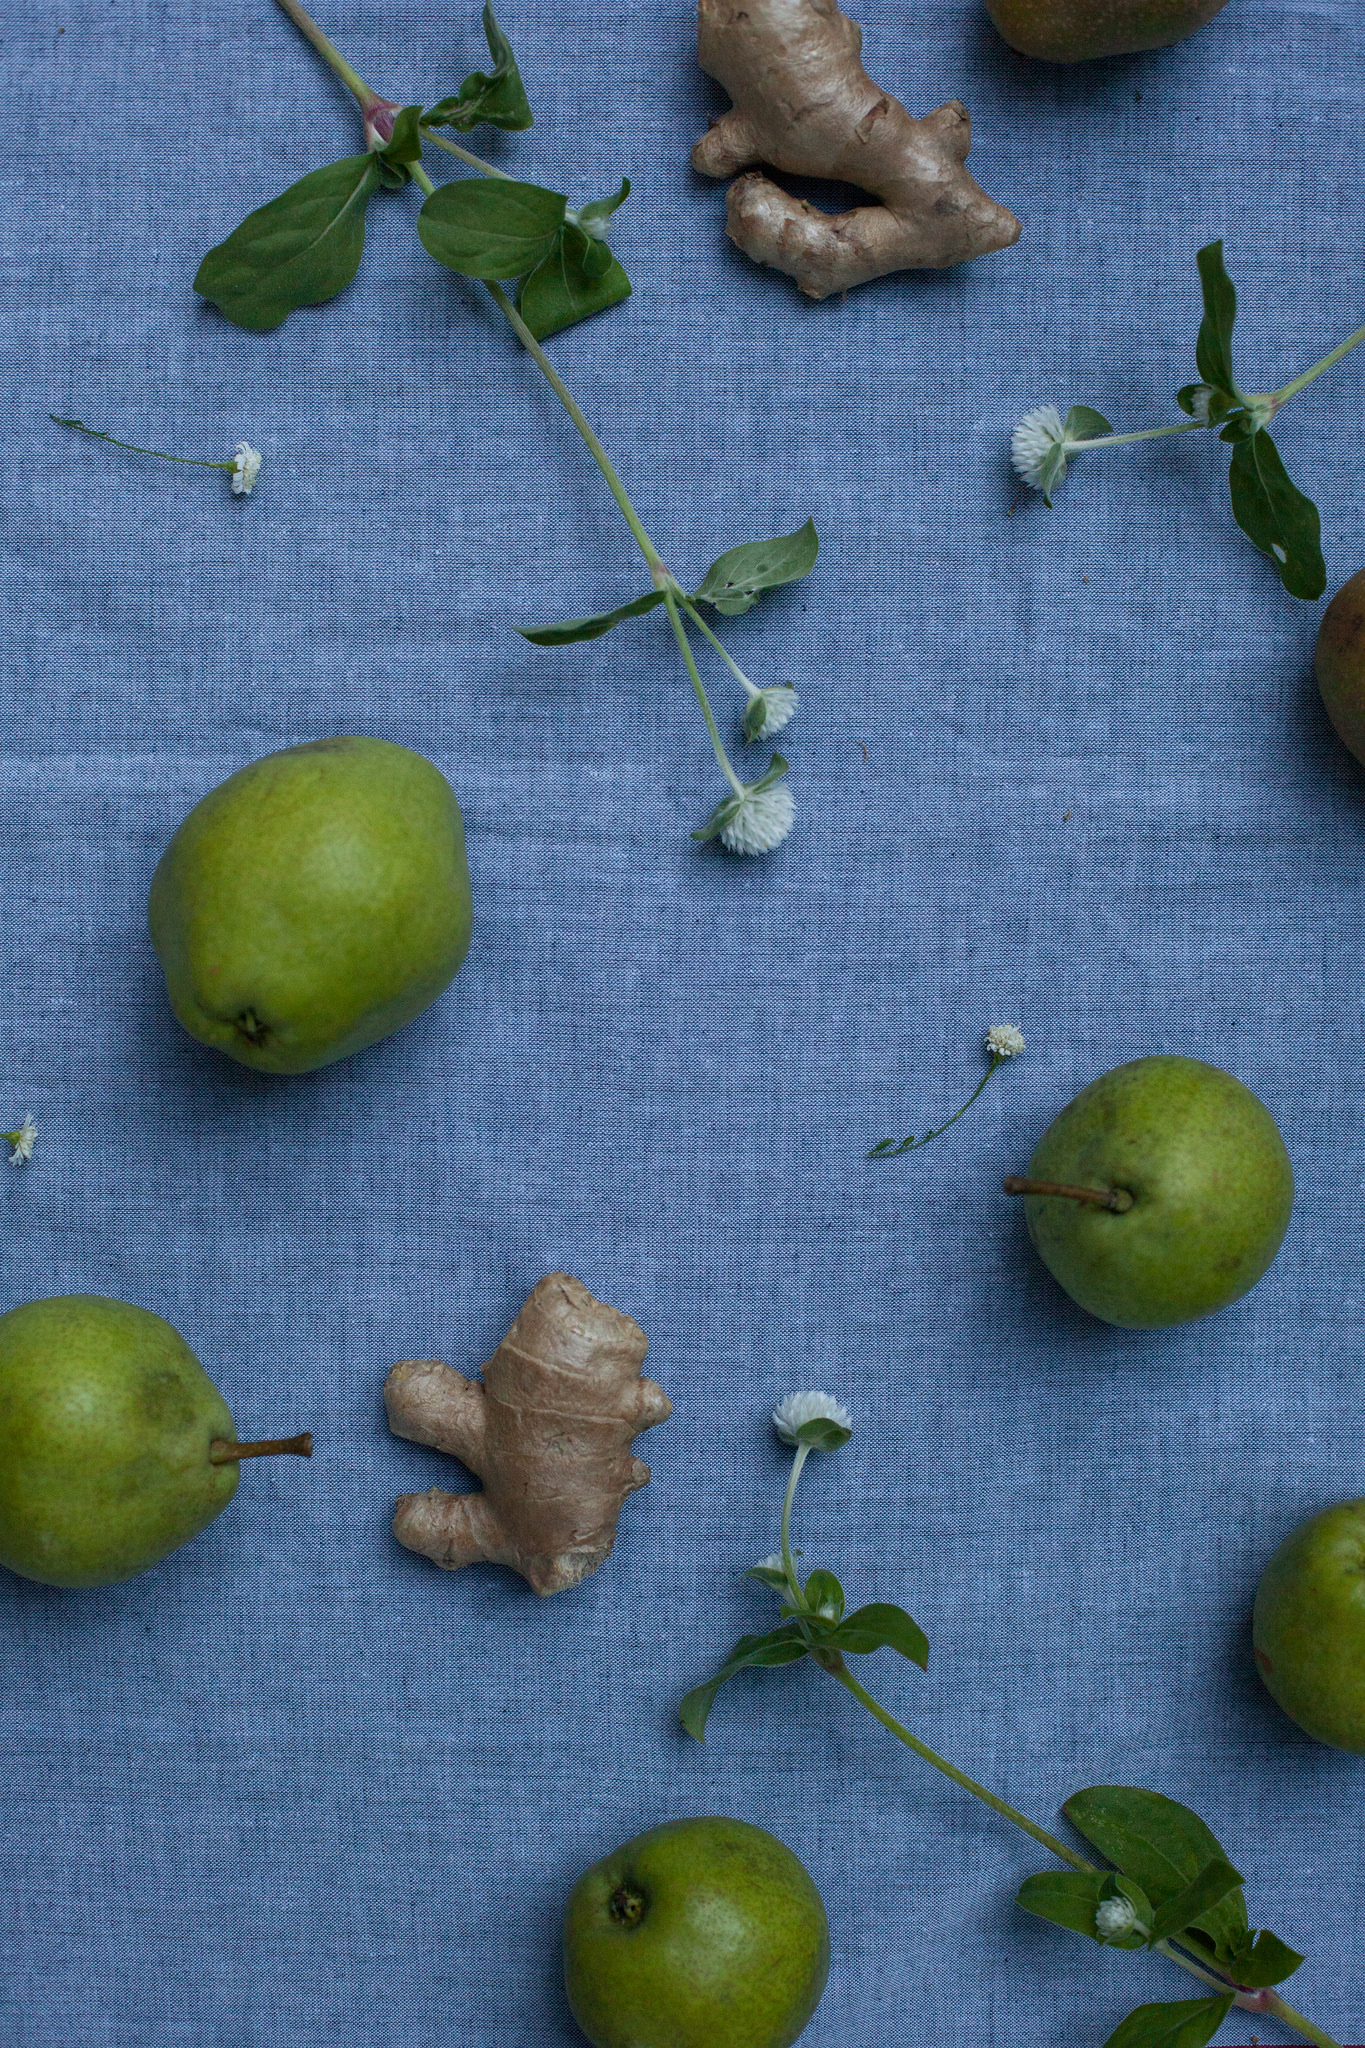
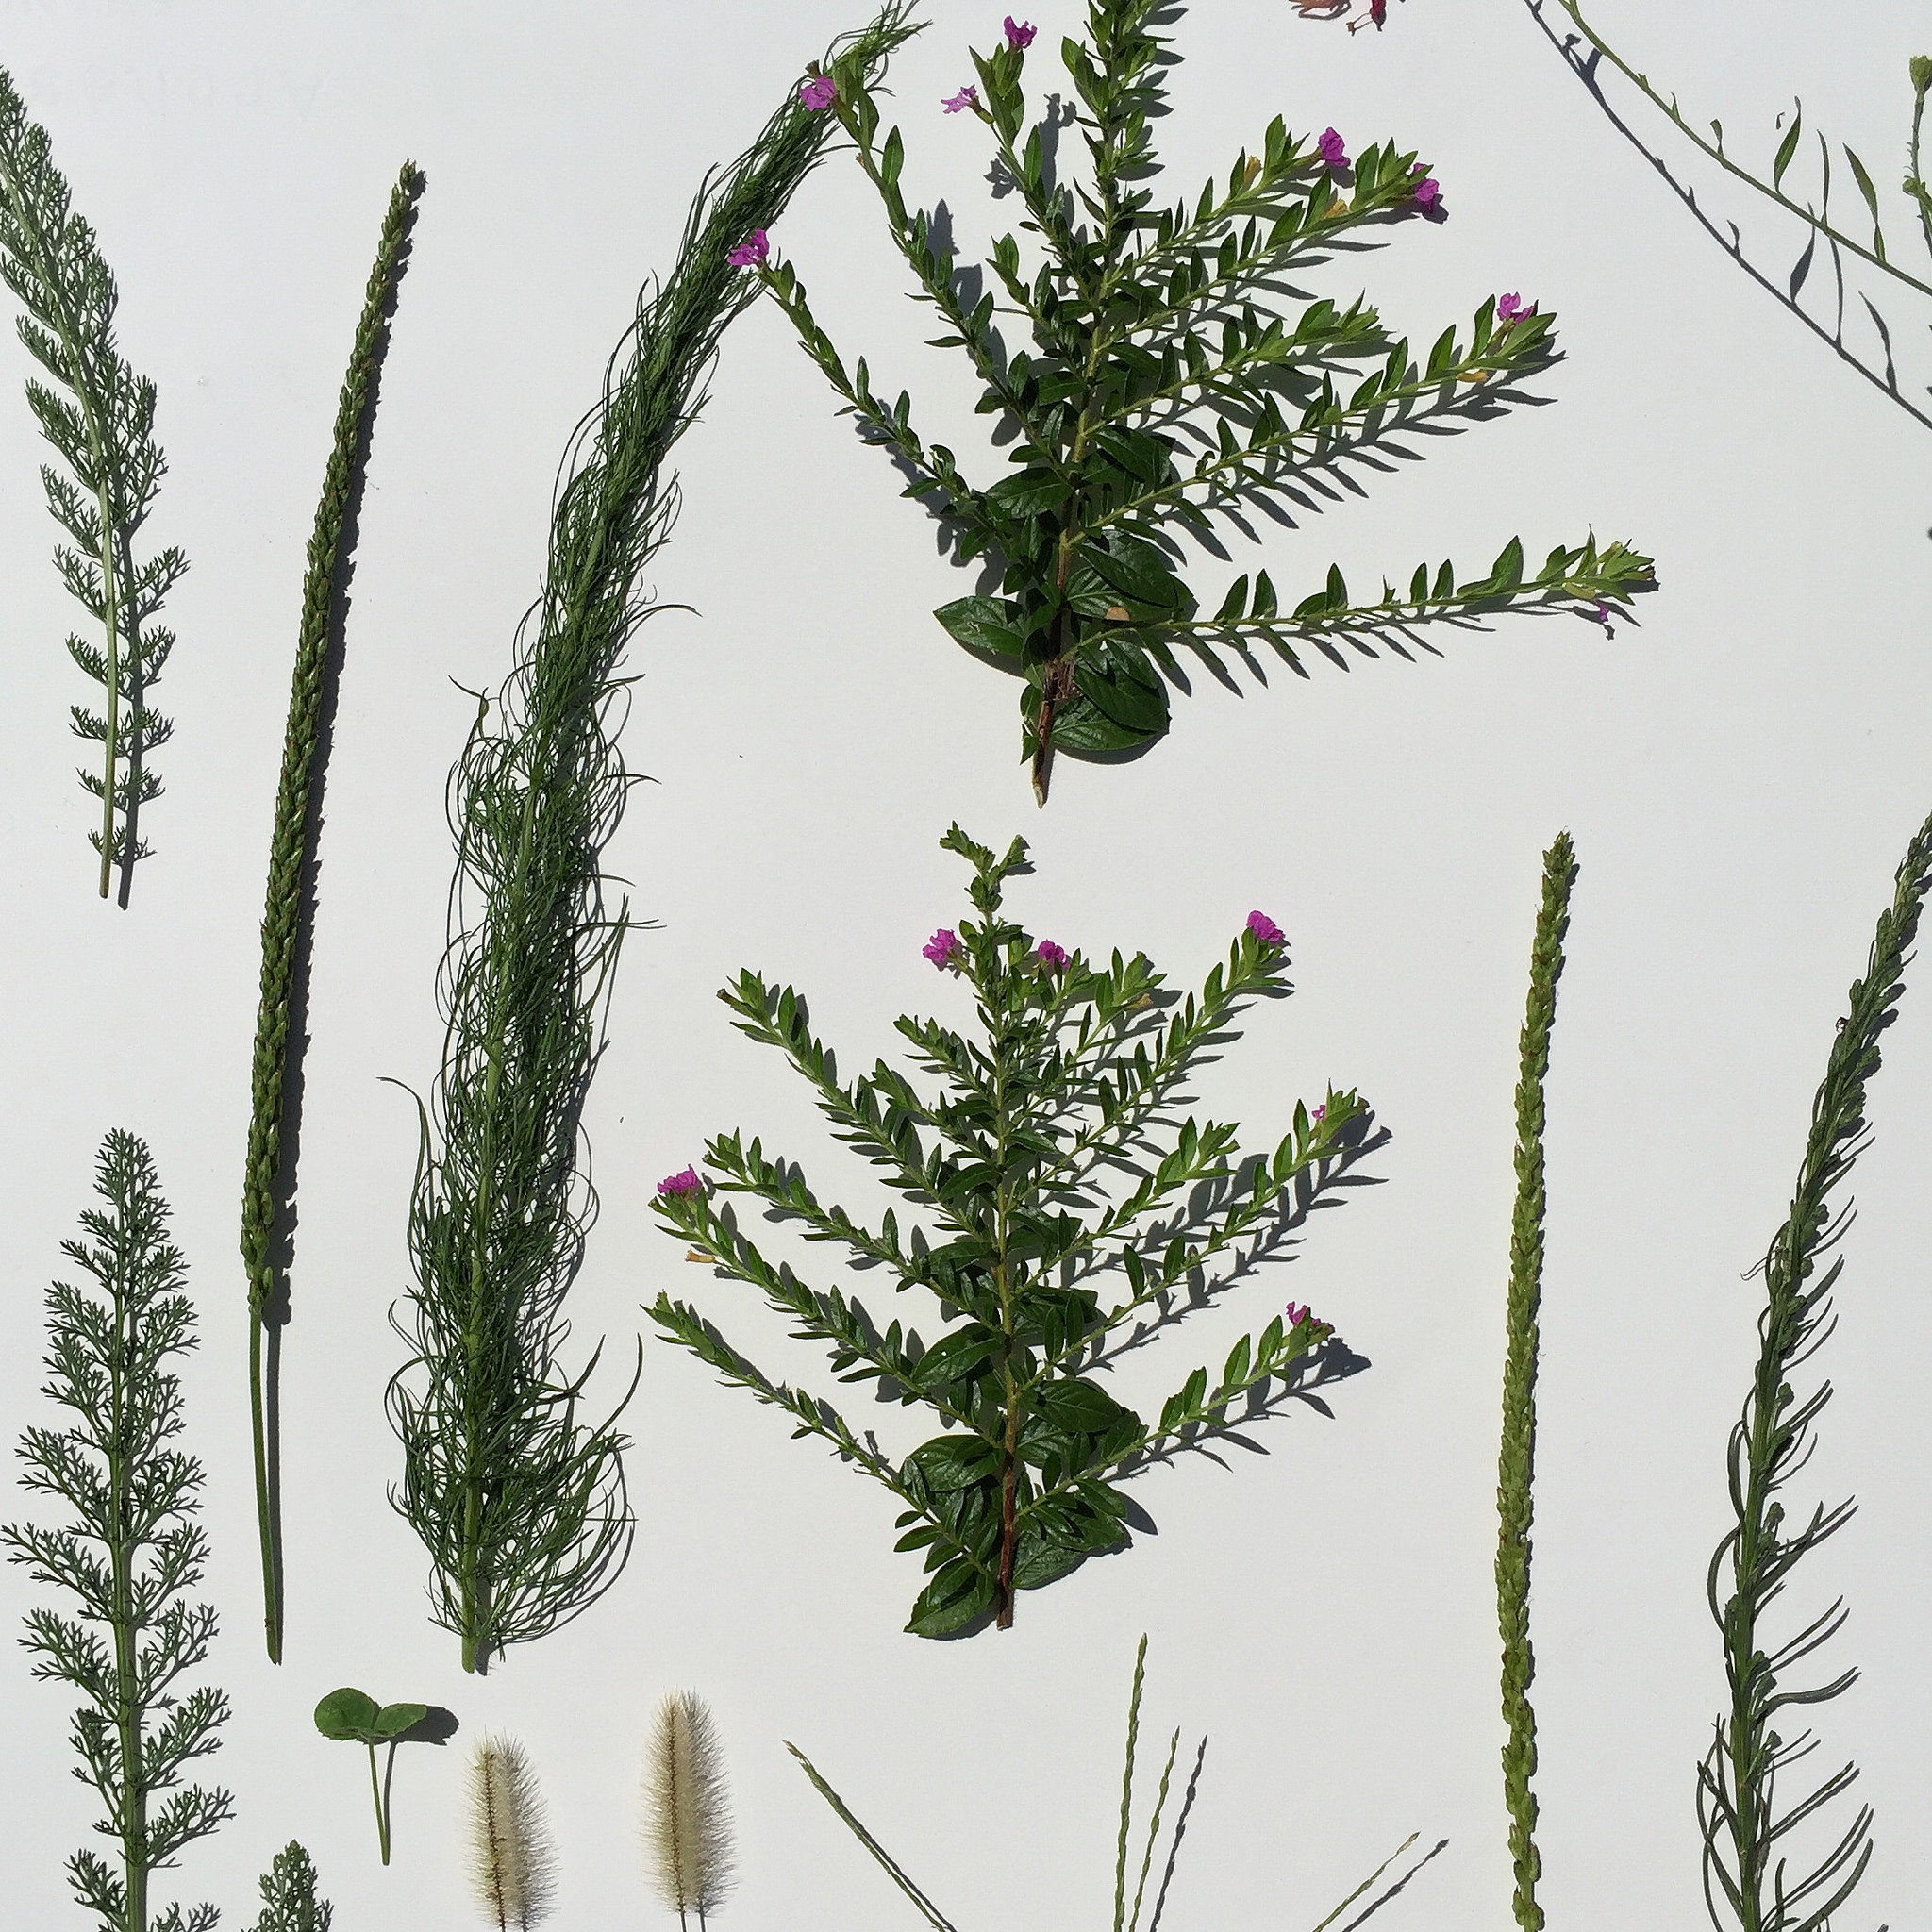
First step is to pick out what types of plants and materials you want to use. I stuck with plants but the possibilities are endless! Mass Collective, the folks behind the first time I did a cyanotype, had everything from rice to plastic toy animals. Other things you could use are letters, feathers, fossils, paper cut-outs such as a doily and really anything else your heart desires! Just remember, anything solid is going to be white, so if it’s just a big solid object that’s going to be a lot of positive space in the print.

20714392429_97a3d7f91c_k

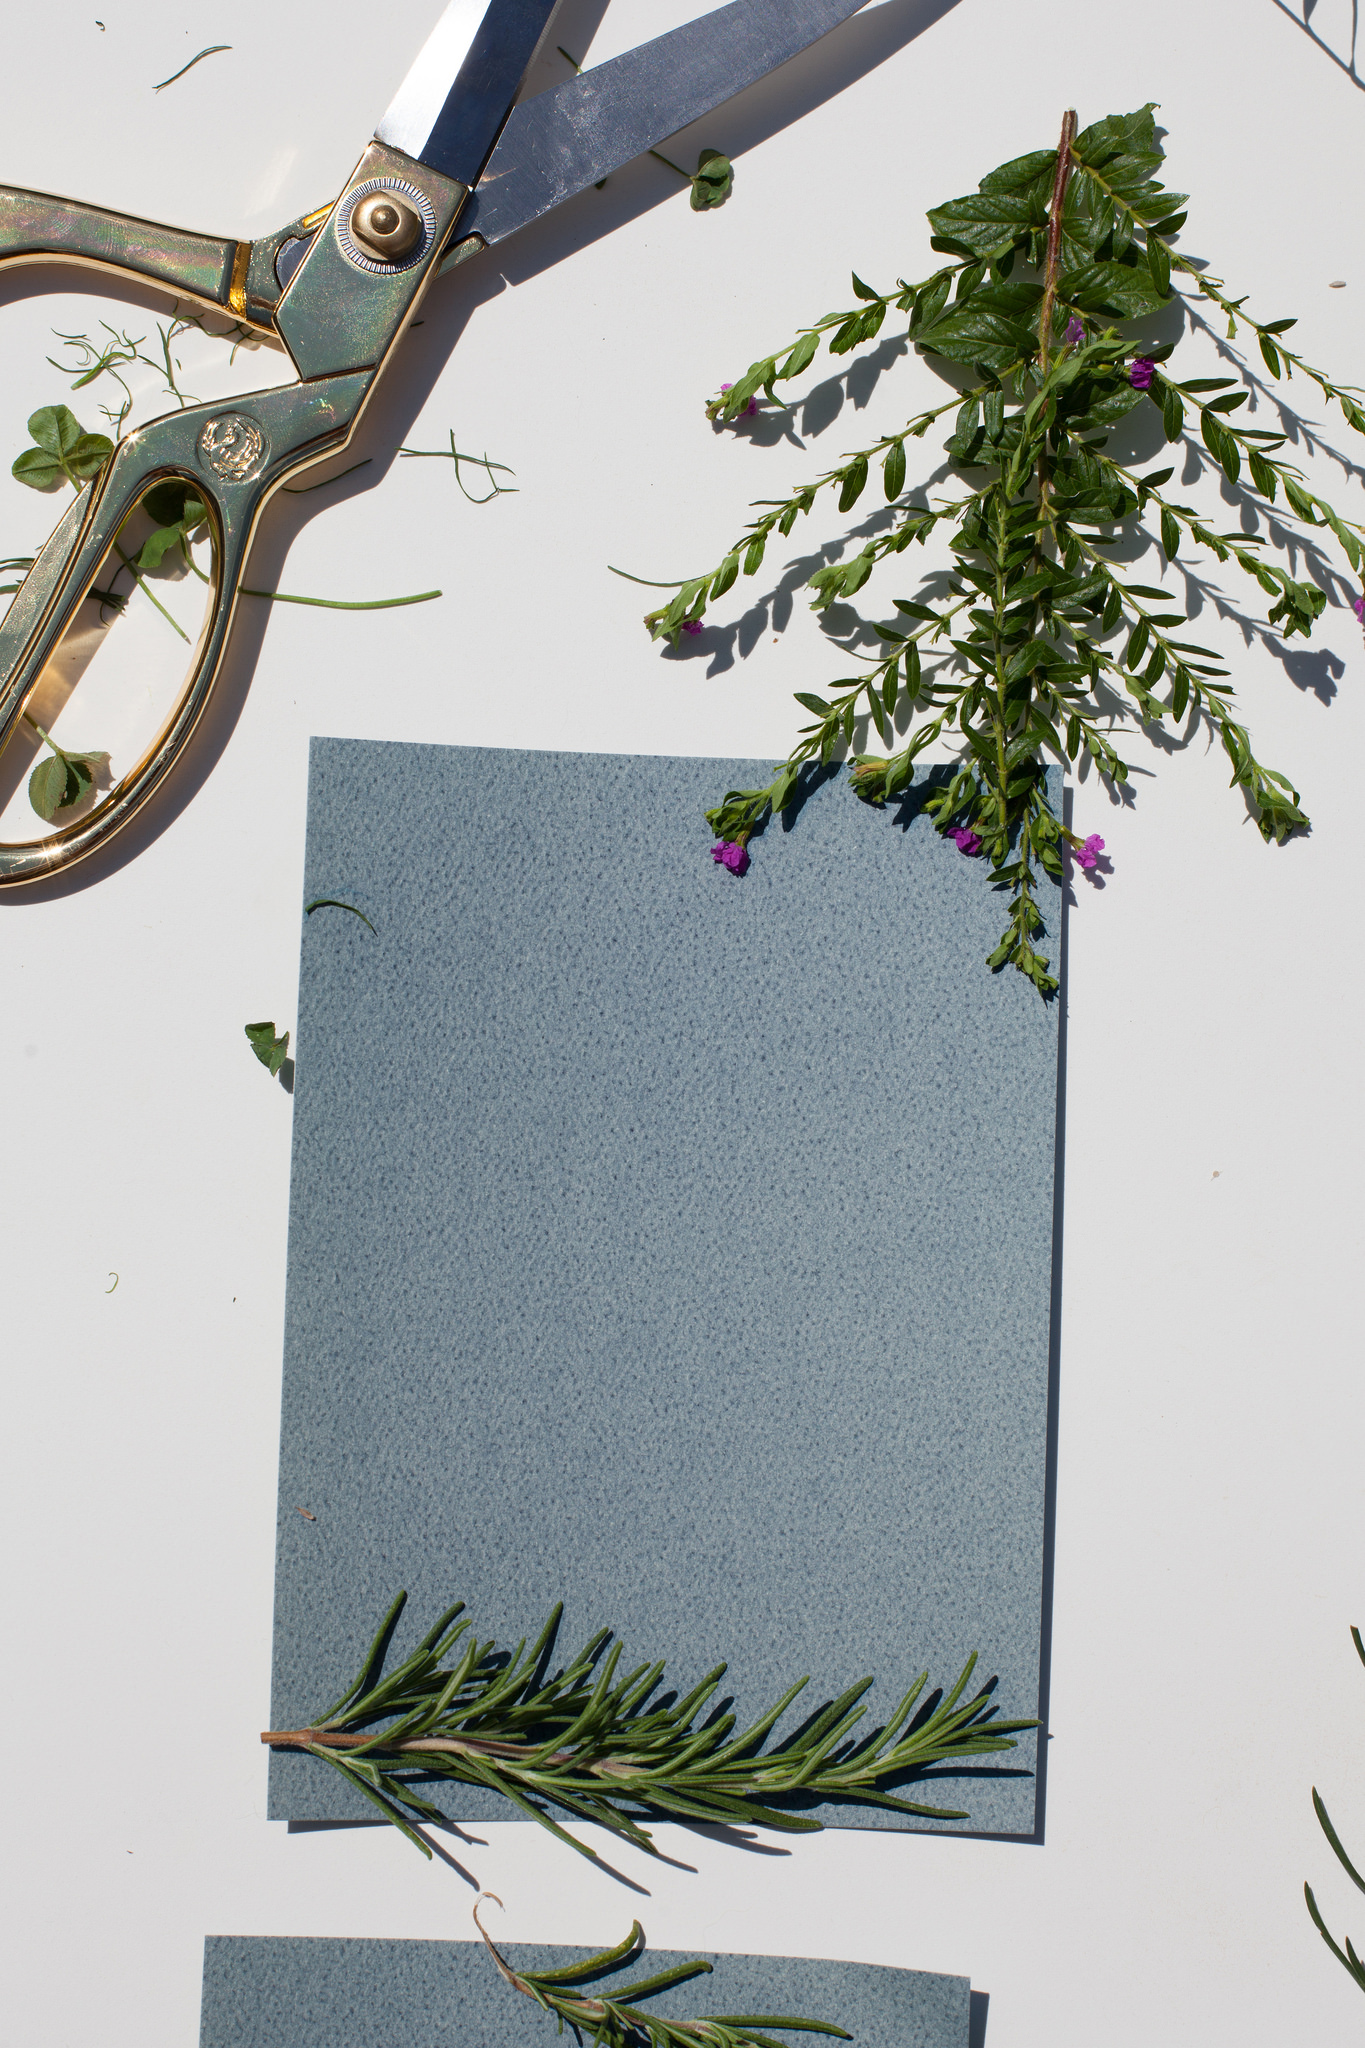
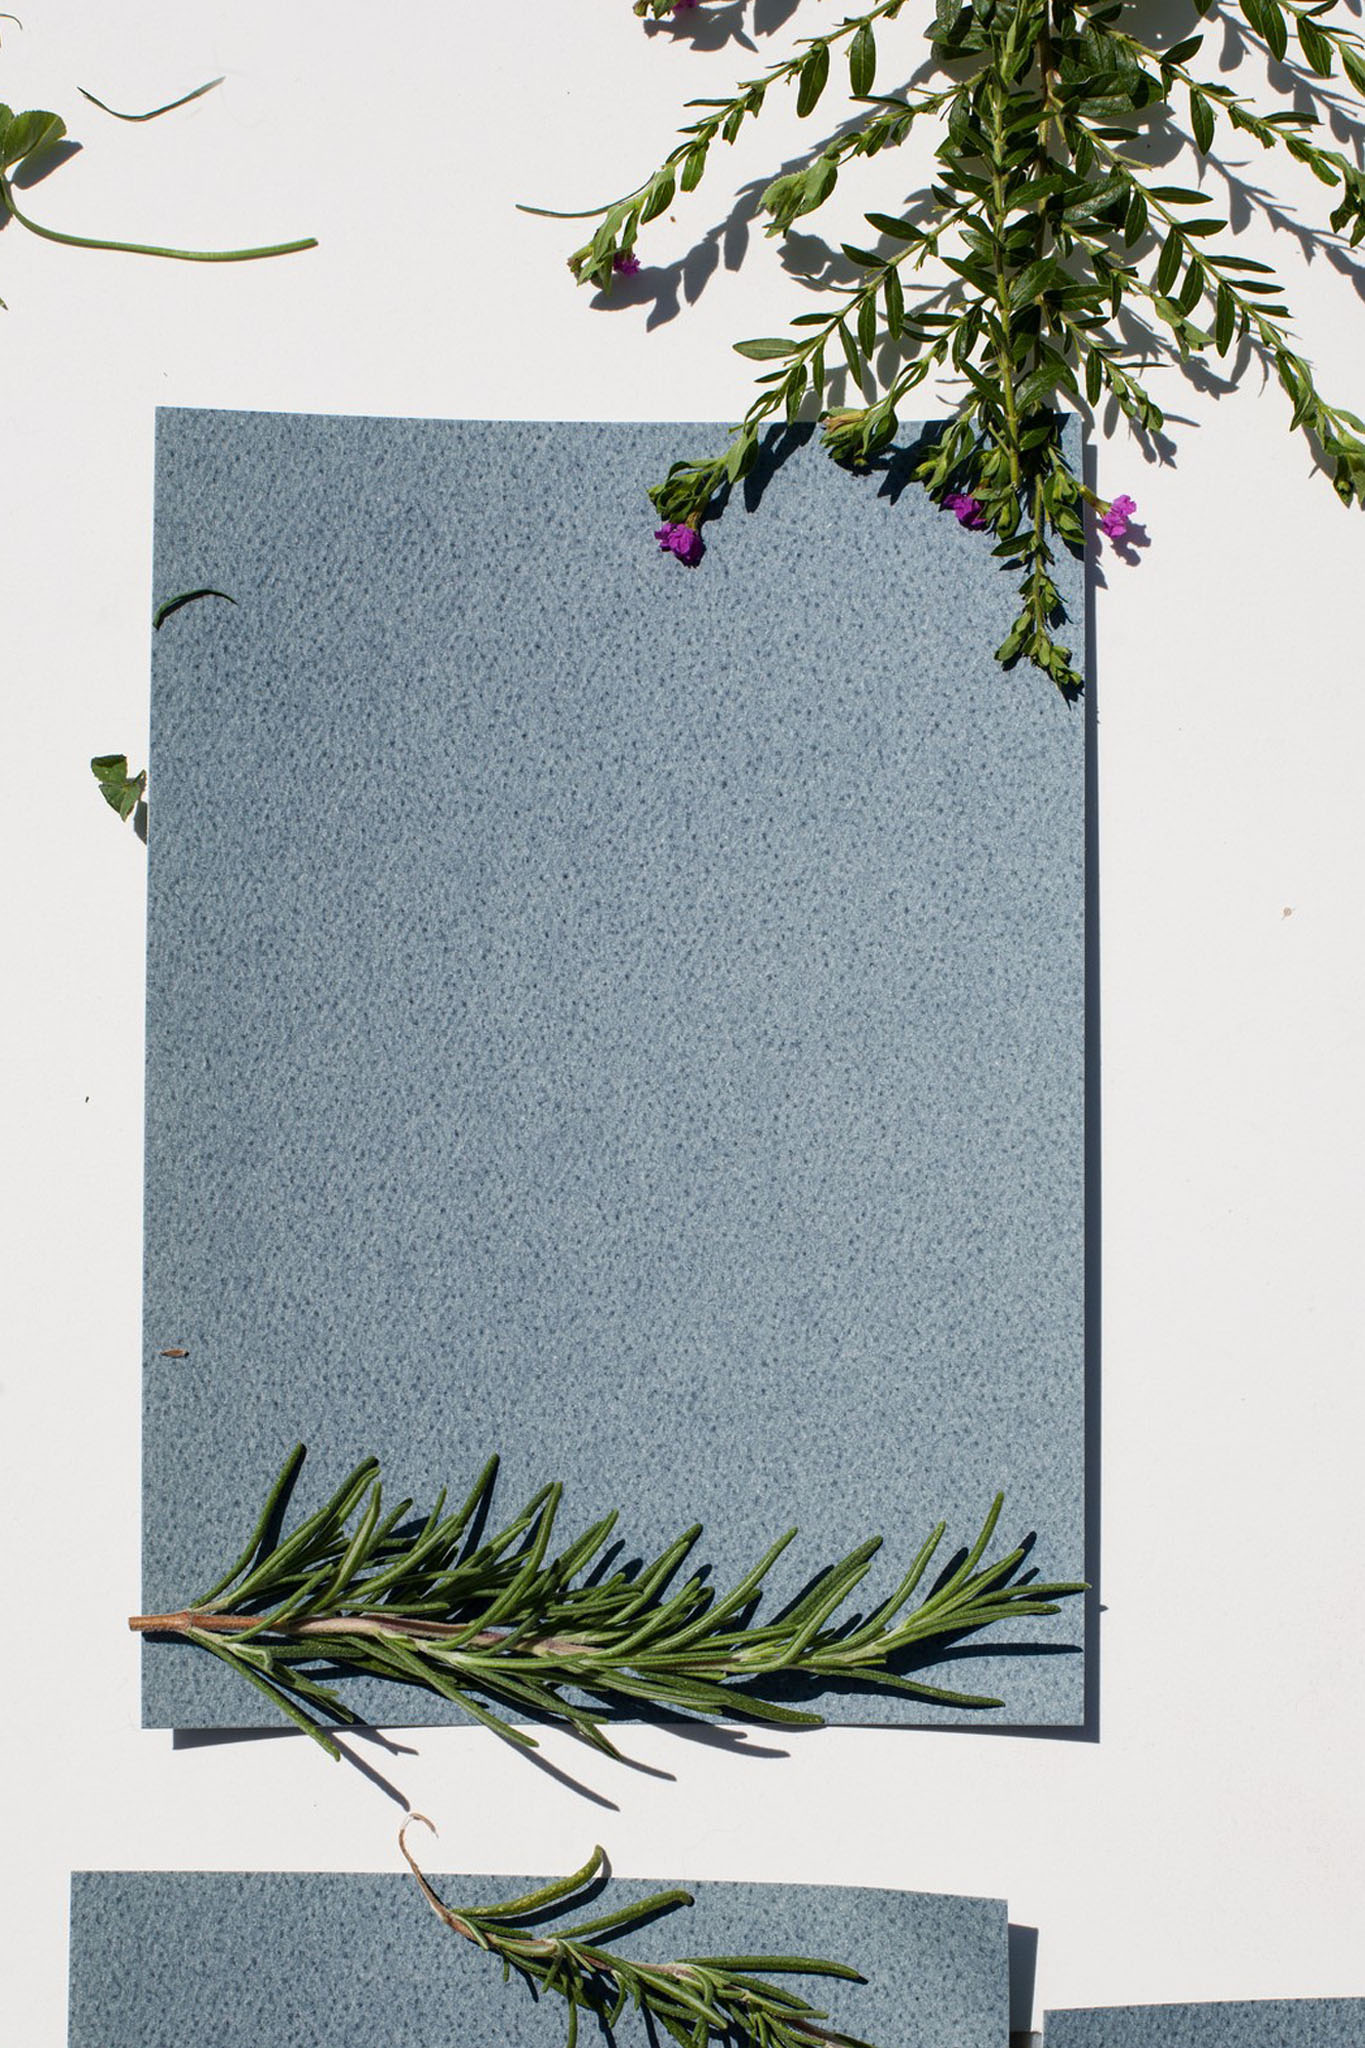
Since the paper is very sensitive to light they come in a black plastic bag that you’ll want to keep them in right up until the very moment you’re ready with the materials you want to place on the paper.

After you set the object on the paper, let it expose in the sun. Time will vary depending on the sun intensity. Overcast=longer. Directions said 10-15 minutes but that was way too long for ours since the sun was crazy intense that day. Expose until the paper turns a sky blue and don’t expose too long or it’ll turn white and then the whole print will just be blue.

The thicker foliage turned out better in my opinion. I liked the prints with the rosemary and whatever plant that is in the upper right-hand corner. But adding specs of little details is also a nice touch. You can also move things around and get lighter effects and double-exposure.

Remember, the freedom is all yours! Well, as long as you have lots of prints to experiment with, we bought more than we needed in case some didn’t work out, and I’m glad we did. There were a bunch of duds.

20891456422_7f6c4ab73e_k

Next up is to rinse. Once the print is exposed how you like, take the paper and place in a tray of regular water.

Tip: Don’t push from the middle of the piece of paper but instead cut in by “diving” one edge of the paper into the water and letting it rinse over the image *I don’t know how else to word this but basically make the plunge as even across the print as possible.

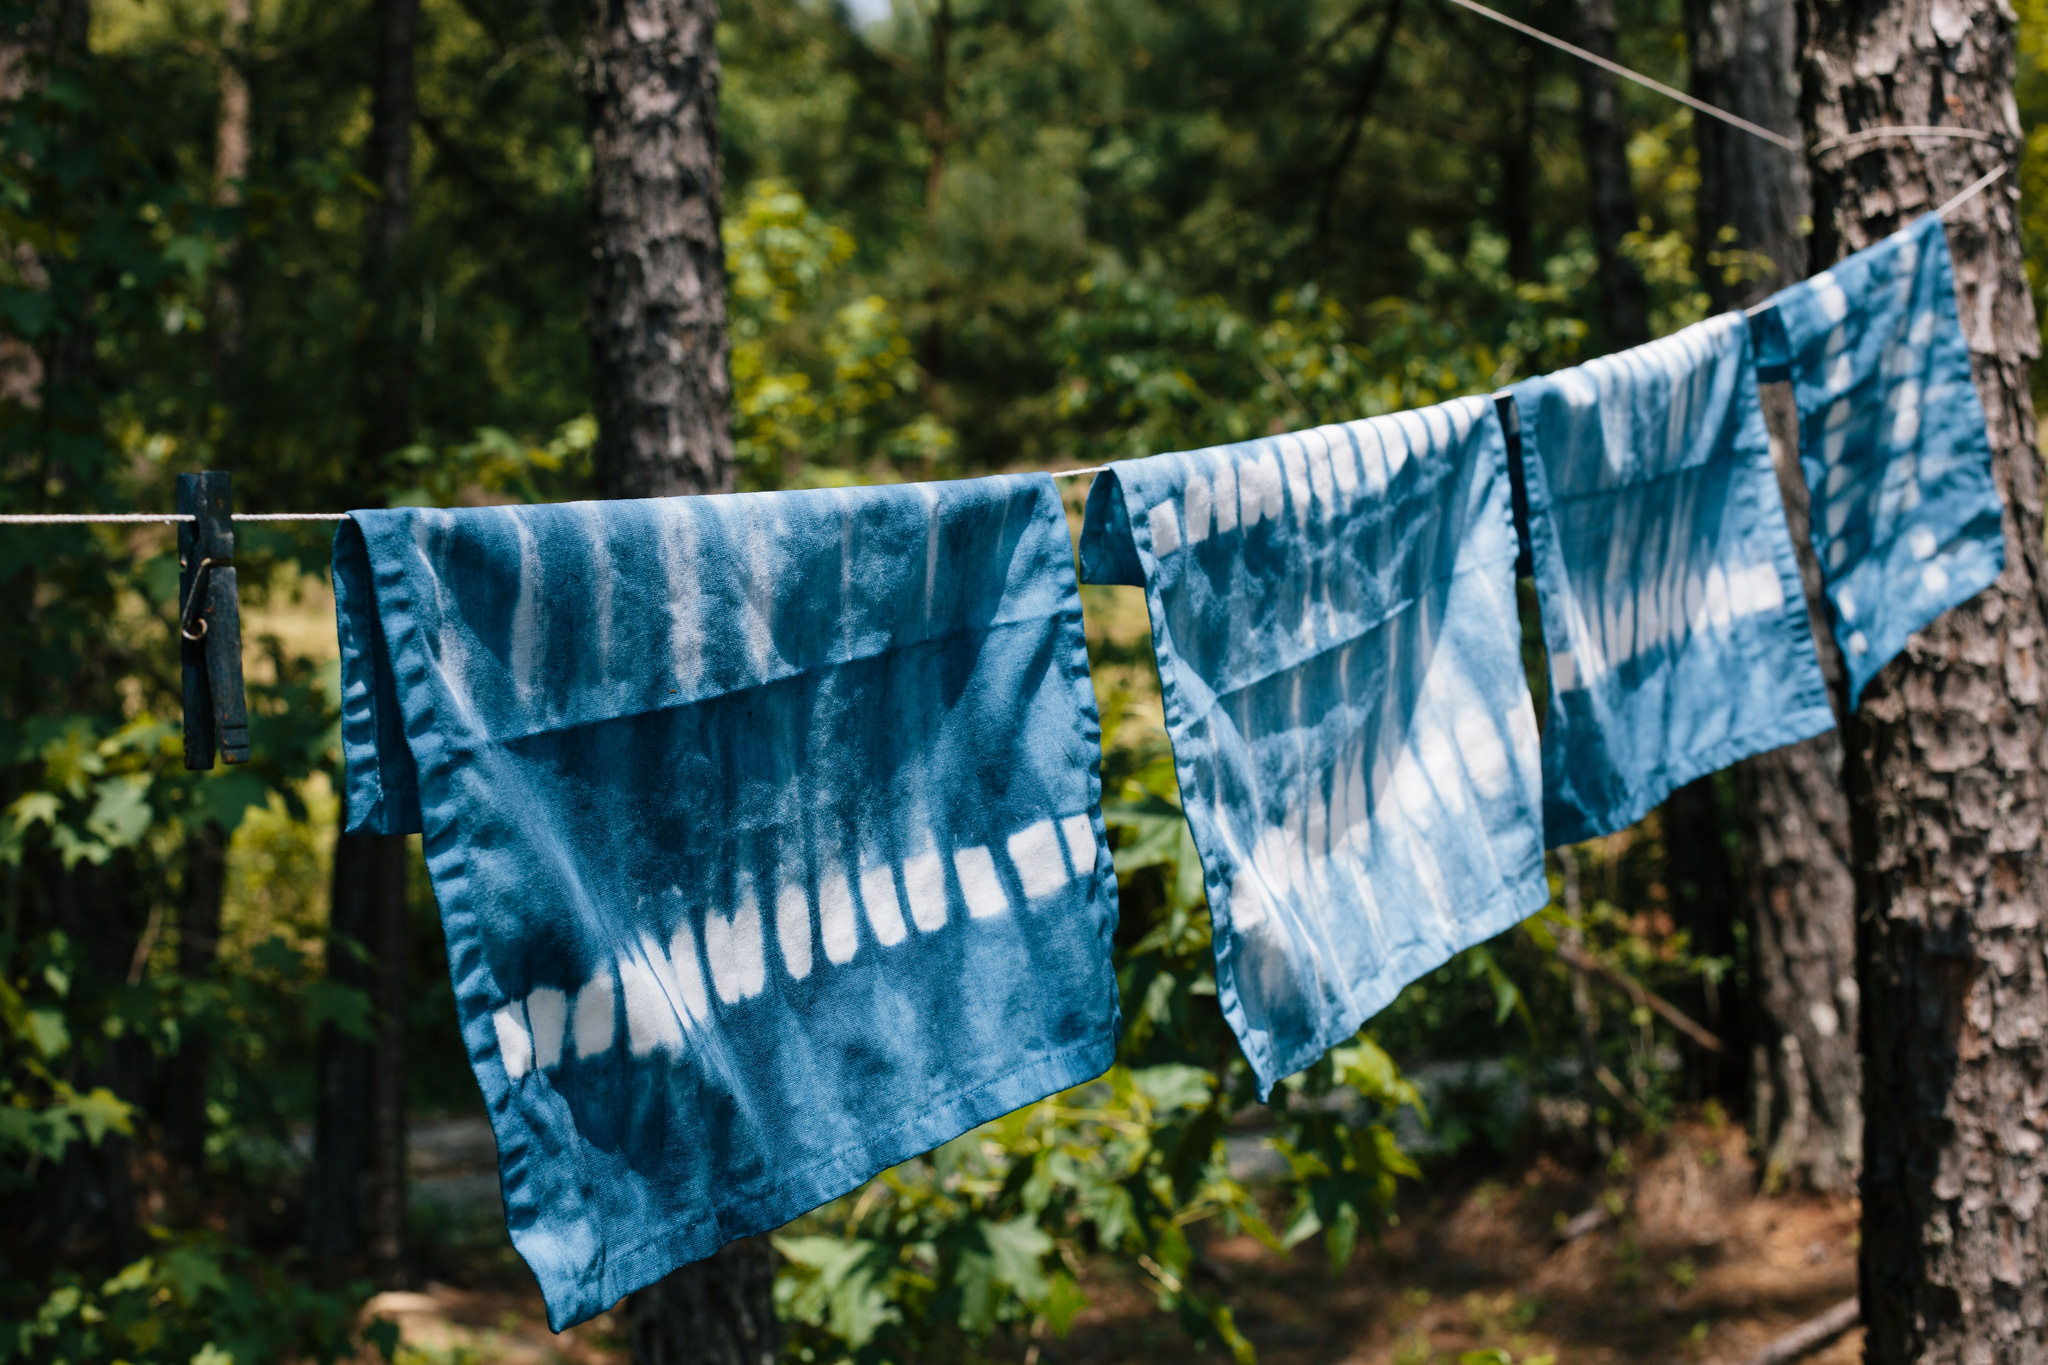
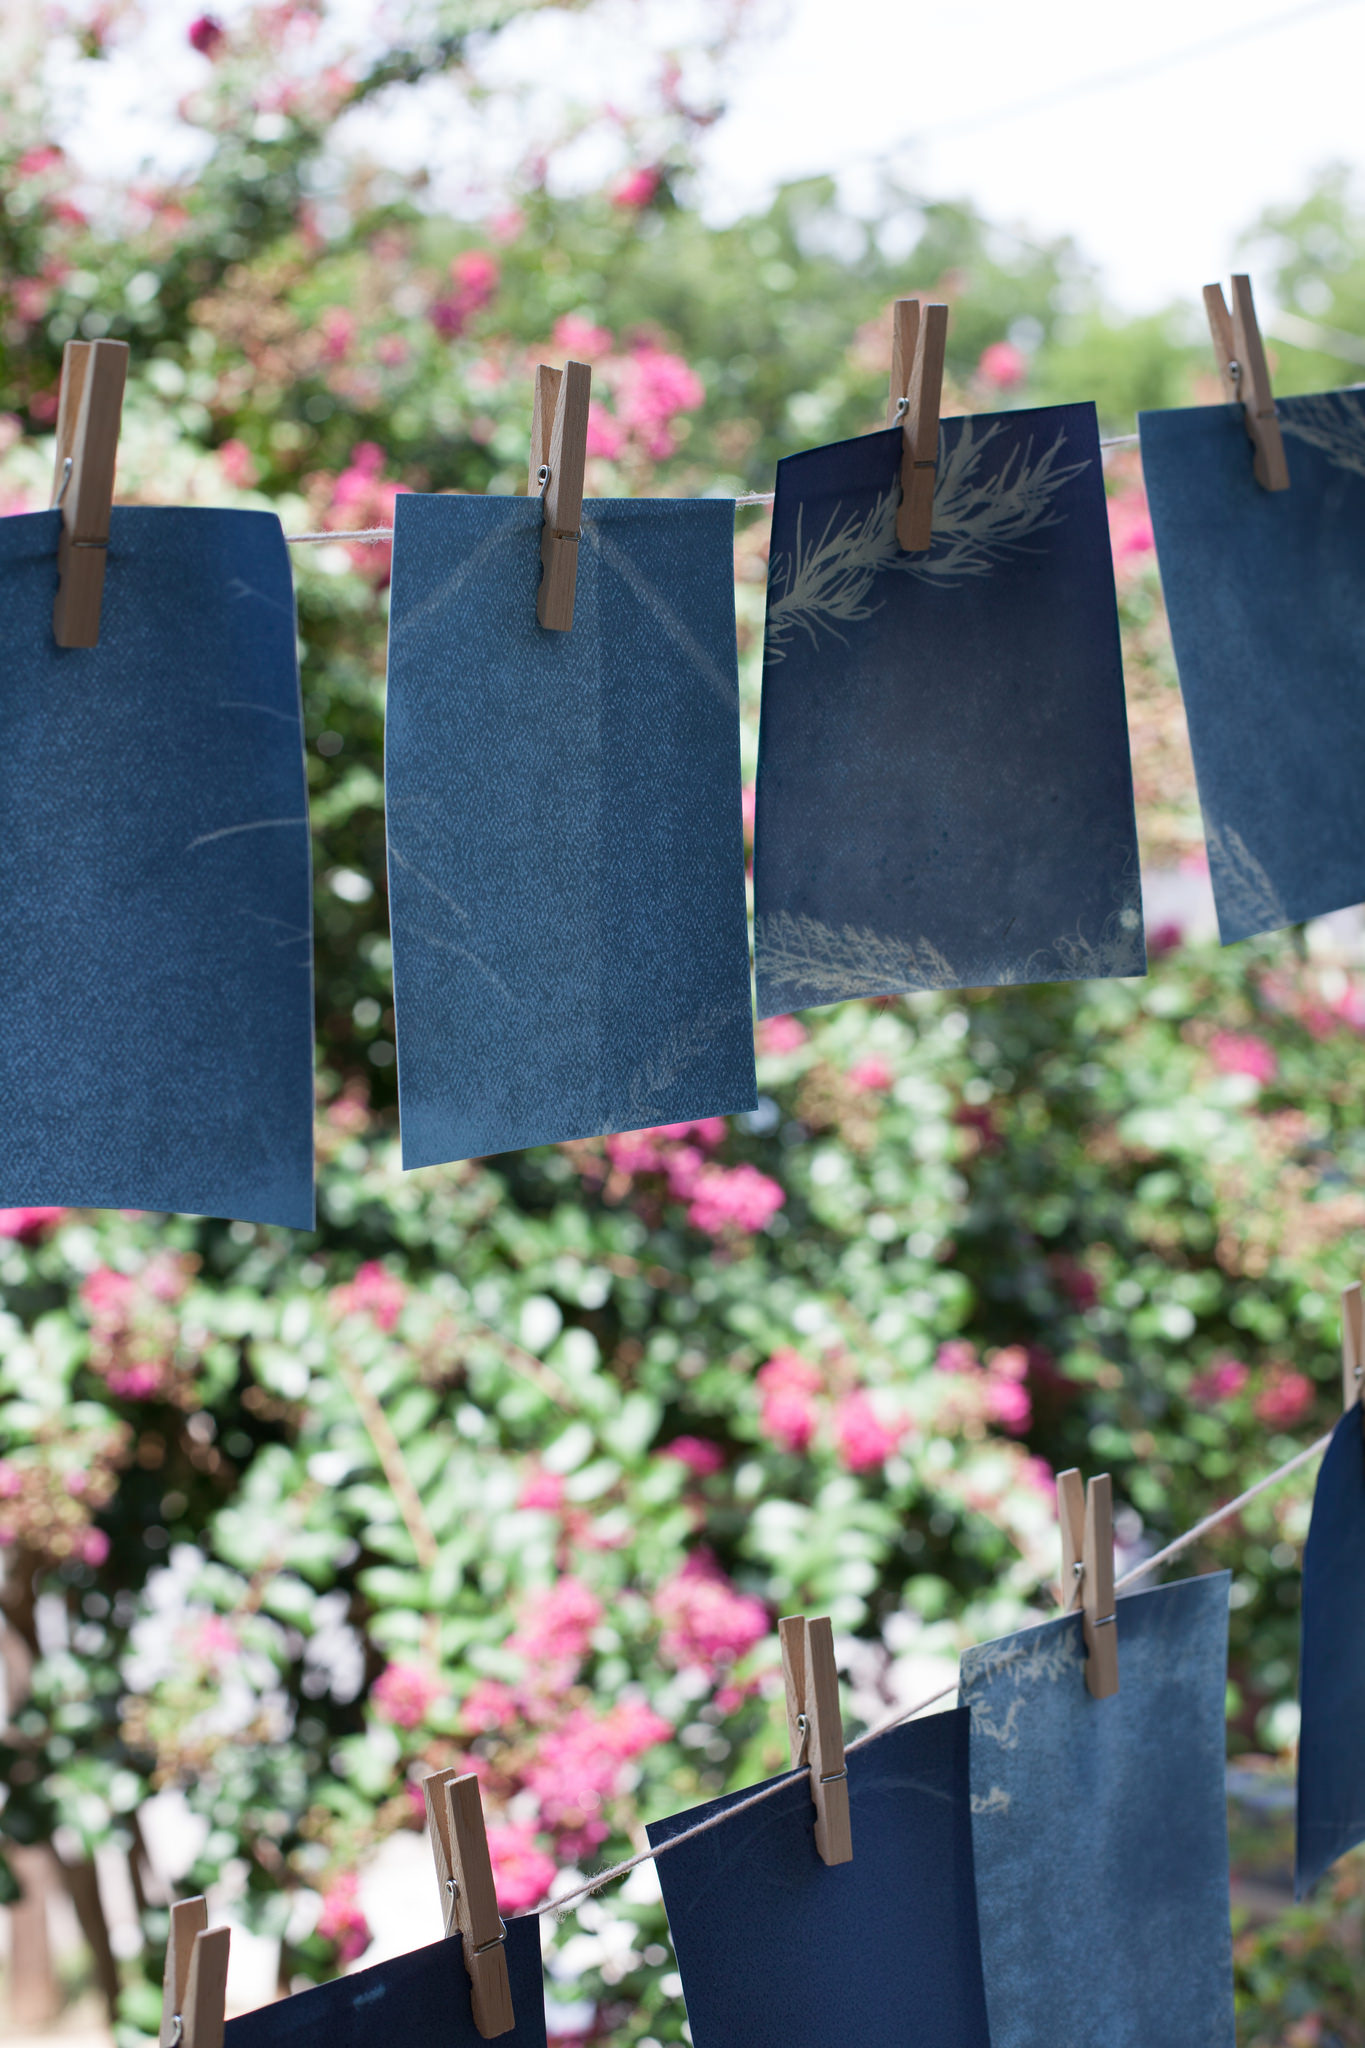
The water stops the developing so when you hang them the clothespin shouldn’t make a mark on the print. But if this worries you, scroll down and read the tips about how-to dry.

20901161435_d5e7898de8_k

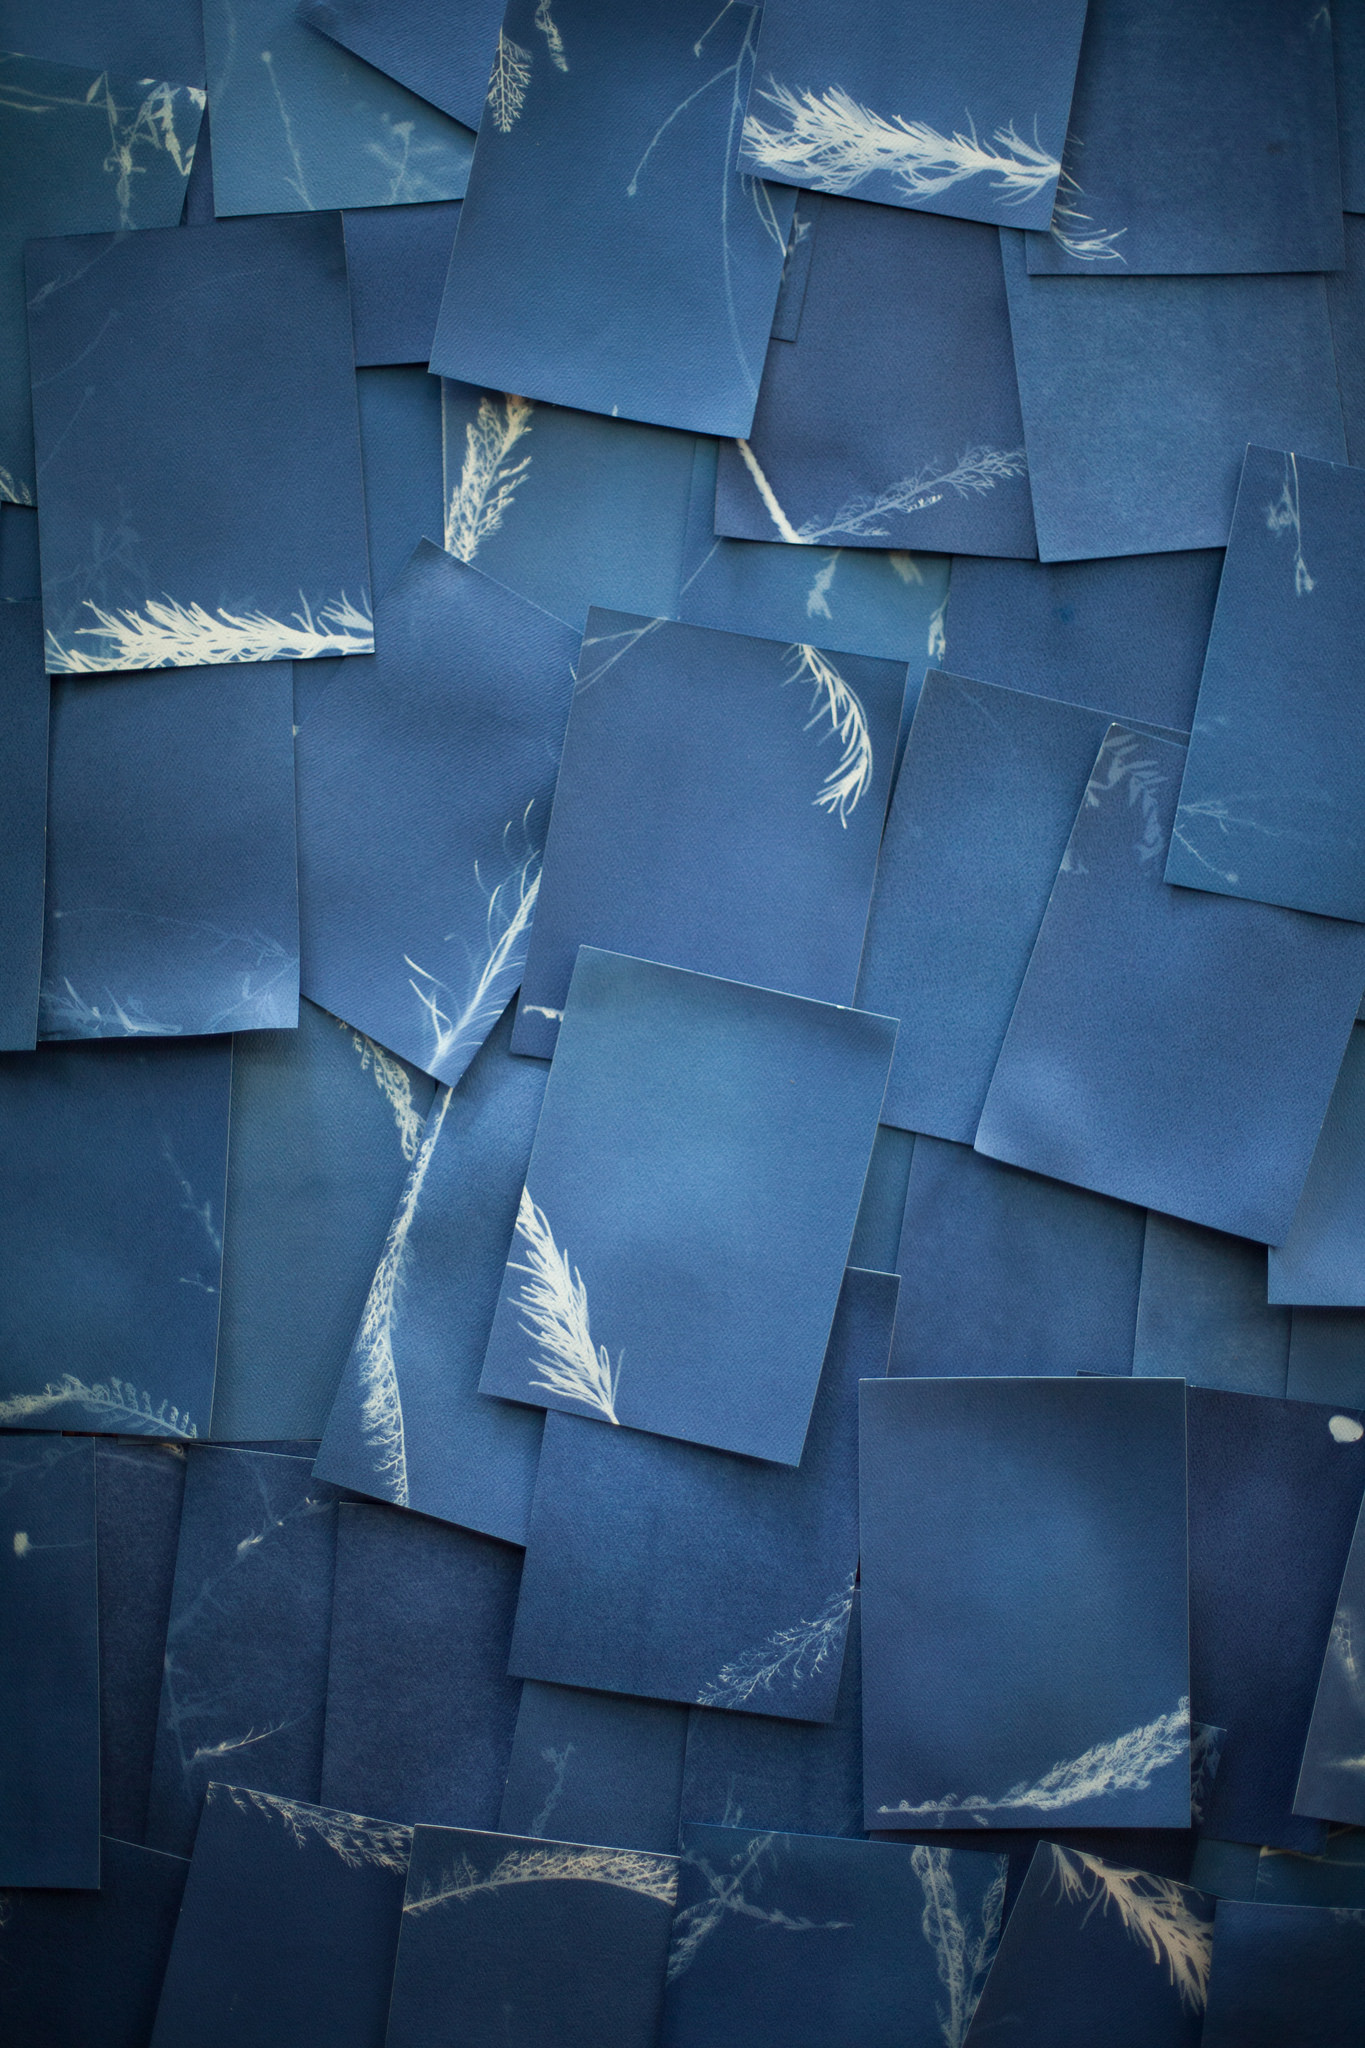
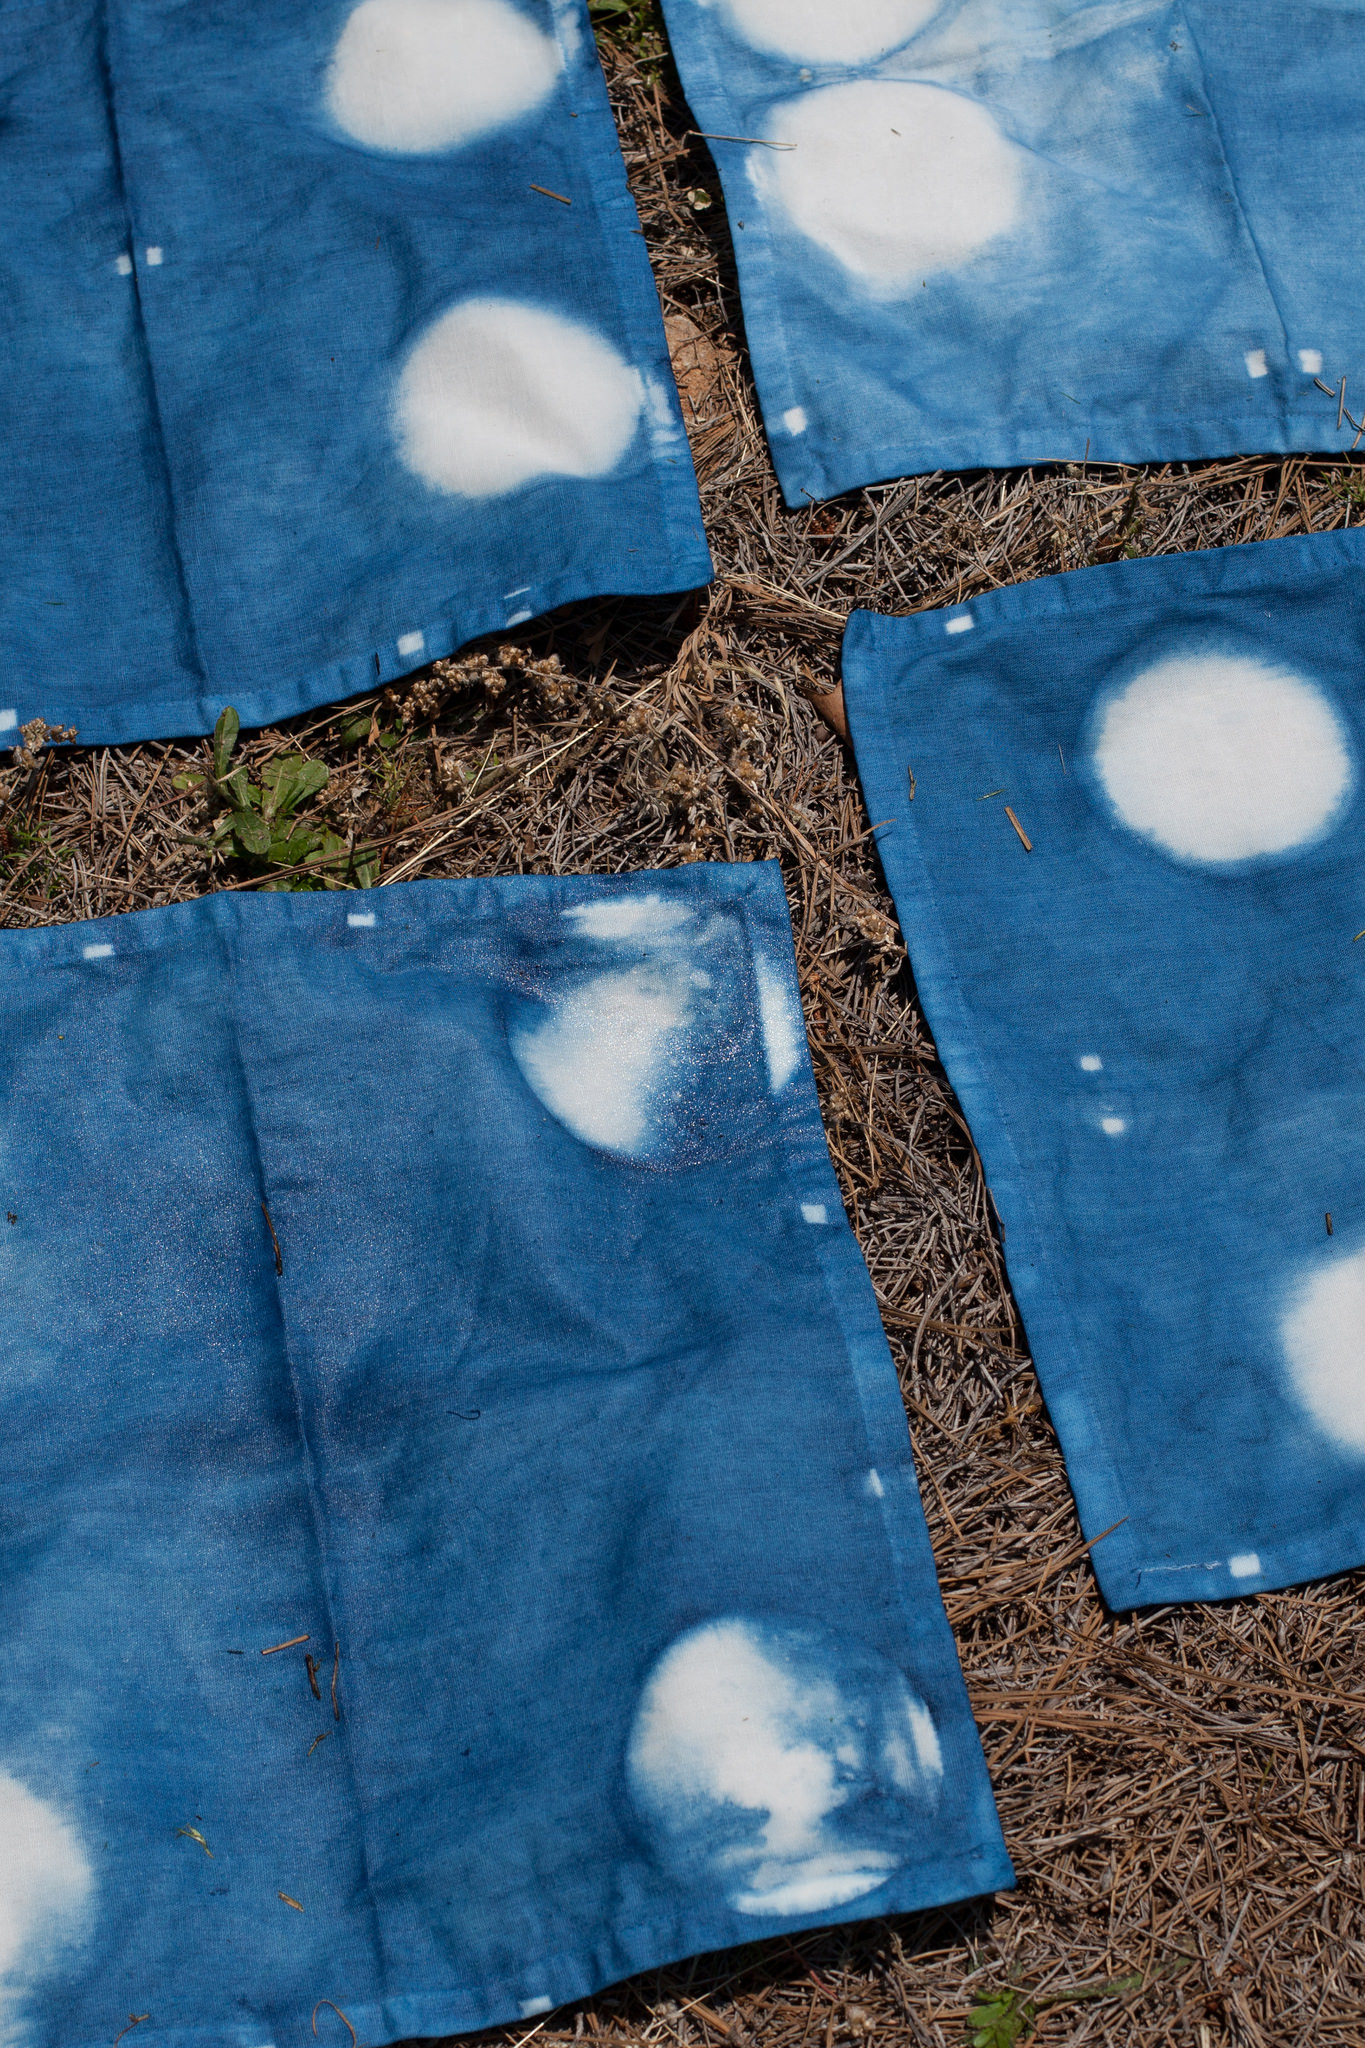
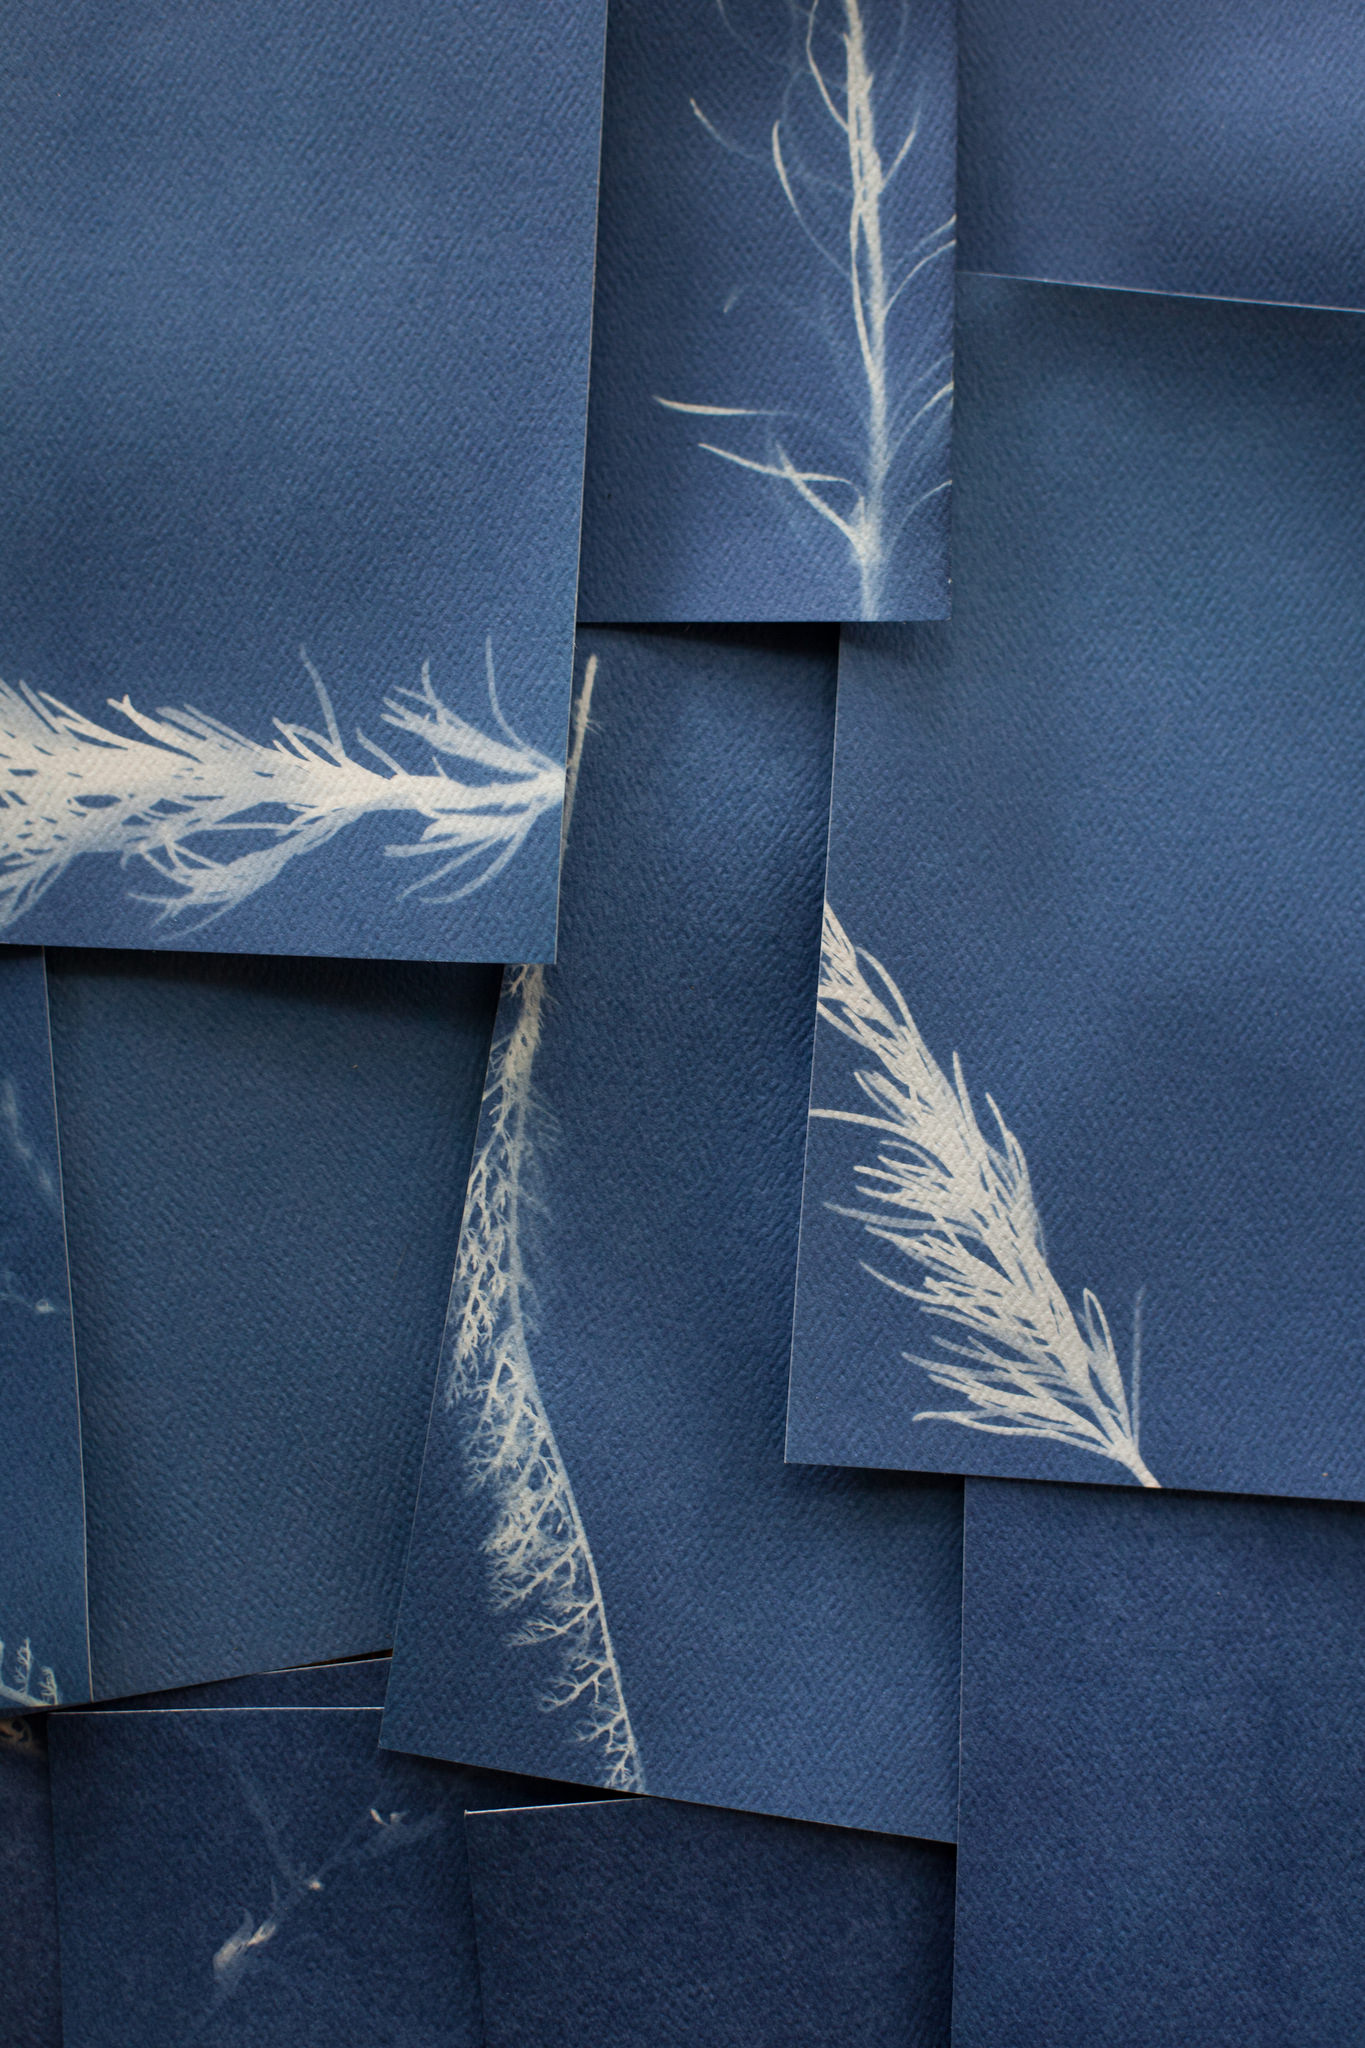
How gorgeous, right??? We are so happy with the outcome and how each are completely unique to the next!

The paper has a pretty texture to it as well, sort of like watercolor paper, and the color turned out perfectly.

20901155025_ee7ec2f0c2_k

Lessons learned:

-Even though I mentioned this above, I want to reiterate: Don’t expose TOO long. If the paper turns white, it’ll be all blue. The directions say 10-15 but I’d say to judge by the sun. On this day it was extremely sunny and so we didn’t have to expose nearly as long as the directions.

-If doing a big batch, change water frequently.  Also, we thought having the water in the shade was better, not scientifically proven, but we thought it made a difference with stopping the exposure.

-When prints are in the water, don’t let them overlap, this’ll cause lines and odd exposures. And also don’t let them sit on top of the water un-submerged completely because they’ll shrivel up (almost like a wilting effect).

-If you’re using real plants you’ll want to have plenty and keep some in water because they’ll wilt in the sun. We had clovers but they wilted so fast we couldn’t really use.

-Don’t dry on flat surface, a grated rack is better or hanging from a line of string. If none of these are available, laying papertowels on a flat surface will do fine, just change them regularly as they’ll get pretty wet and not allow the print to dry.

DO NOT DRIP ON ANYTHING OF IMPORTANCE. We did this in the front lawn and I hung all the prints on the porch, thus dripping all over the place, and even though I rinsed it thoroughly afterwards with the hose, it looks like a bad tie dye job! Apparently, the water that drips off carries the indigo-colored ink with it. I think what happened was that even though I rinsed, the sun ended up exposing the droplets.

Next step for us is to stamp each cyanotype with our wedding stamp and get them out the door!


DRINK UP | CONCRETE JUNGLE COCKTAIL

20320169826_451b16affc_k
In this post I talked about Atlanta’s non-profit, Concrete Jungle.  My good friend Katherine Concrete Jungle’s new director and avid forager, brought over some pears from a recent picking which we turned into a delicious cocktail!! Ingredients and easy instructions below.

20352511161_33ea8b4b42_k

20346431785_54965e8700_k

20158366730_e9c92e3fa0_k

Ingredients:
Gin
St. Germain
Pears
Ginger
Mint
Ginger beer

Directions: First wash and dry produce. Then, grate the ginger, pluck the mint off the stems and muddle together then add in a half jigger of St. Germain. Peal pears, cut and press with juicer over the shaker then shake all that with 2 jiggers of gin.  Pour over ice into two cups and add the ginger beer.  If you’re not into mint, ginger and pear bits you could strain. We left in and enjoyed snacking on the pear pieces. Hope you enjoy this easy and refreshing cocktail!


THE HOMESTEAD ATL

17456687959_c3492f3abc_k

When my friends saw that The Homestead Atlanta needed a photographer for their Indigo Dying Workshop they recommended me for the job. Though I was pooped from filling up all my weekends with photography gigs I took it on because, well, who could resist an indigo dying class at Serenbe?! Thanks for looking friends!

The workshop took place at a spot I had never been before called the Art Farm at Serenbe which is a shipping container that’s been turned into a mini studio that has a porch that’s also connected to a house.  The whole set up is really cool!  I attended as both the photographer and participant so I got to leave with my own set of napkins and place-mats.  If you recall, I recently shared a blog post of my first time dying indigo napkins and since I had enjoyed that so much, I thought it’d be a lot of fun to give it a go once again.

The class was lead by textile and natural dye extraordinaire, Gretchen of Thrive. Here’s a glimpse into the class.

17455156008_718c304a10_k17643105471_cd3e60e5f4_k17455400940_2fdf782039_k17643100171_bd5ef967e7_k17640557492_b287b3827c_k17643089781_edabe58011_k


The pole wrapping technique. Simply wet the material, tightly wrap around pvc piping, wrap string around making X’s then scrunch down making sure the fabric is tight. Dip into dye then take off and rinse. Gives the below zebra stripes-like effect!


17456662499_ed3d5e7a9c_k17640566412_1e9c8589fd_k17455150578_d3a45afe6c_k


My favorite look out of all the designs made that day were the above ‘moon’ napkins. The gal who made these said she folded each napkin then used the circular plastic discs to block off the dye. I was obsessed with the result and now must try, guess third times the charm!

More information on The Homestead’s class schedule, click here.

This weekend I’ll be at Hangout Music Festival in Gulf Shores, Alabama.  I’l be shooting music, fashion and all the fest shenanigans since I was approved as media! Until next weekend, follow along on my Instagram feed!

ROOT CITY MARKET | SPRING 2015

17116921589_da0ed247fd_k

I can’t brag enough about how proud I am to be a part of the Root City Market team! Seriously. Since first attending the pop up market back in March of last year, I’ve watched it go from awesome to damn awesome and loved being a part of it!

Last Saturday marked my 4th time shooting the event!

Dustin joined in and volunteered with the solid group of people that help Jen bring the market to life.  The location was Stoveworks in Old 4th Ward, which was the same as the December market.  There were similar vibes but the team did a great job adding new details to make it a unique experience. For example Allison’s “Selfie Station” and Sarah’s “Color Your City” for the kiddos.

One of the many reasons I enjoy shooting this event is getting to peruse all the locally made goods and chatting with the creators. Usually buy a few things too!  Here are my favorite snaps from the day—

17095678367_b65b4f66b7_k17095676057_30a0001ae7_k

Best cold brew coffee in town! They liked the below photo so much they are using on their website!

17277167606_fefc5710e8_k17115583170_7abaf5b05b_k

Cicada Rhythm 

17115379348_7d710a8d7b_k

Charlotte Smith Ceramics 

16680655974_505ad58e5b_k

Melting Sun Apparel 

17277157576_7c11e765d4_k

Yes Ma’am Paper Goods

17115363138_b4c0c96924_k

Temperate

17095667947_ec06d47d55_k

Plymouth Rock Outdoor Gear

17115381438_b514f4852a_k

Katie Ridley Murphy

17115561260_fbb3e8da75_k

Sydney Eloise

17301276762_d62ef69e7b_k

17095680067_65f0233842_k

Do yourself a favor and sign up for the emails or like the Facebook page to stay in the know of upcoming events!

Special night time market this Saturday 5-9 508 E. Howard Ave. Decatur

See you there!

DRINK UP | MINTY OLD FASHIONED

17139717825_38c5b953fb_k

Sunday while I was at Wigwam Wellness Fest doing downward facing dogs and hip hop aerobics, Dustin was at home doing chores and being the sweetest supporter of my “Drink Up” posts and concocting his very own! He used liquor from our recent Stock the Bar housewarming party, our favorite West Elm tumblers and the best natural light from our dining room windows. He came up with an idea to make drinks from the liquor we got from our friends and give them a thank you shout out.  Thanks to Cline and Jonny for this awesome Thirteen Colony bourbon (and the mystery friend that gifted us bottle #2..)

I’m so grateful he enjoys my blogging and even gets involved, soooo grateful!  Check out Dustin’s recipe below:

16952172340_0b7ce66e8a_k

edited

Ingredients
Bourbon
Simple syrup (he made it*, but store-bought is fine too!)
Aromatic bitters
Mint
Cherry

Directions: In the glass muddle and remove the mint (use first two leaves for flavor only, adding in garnish last) then add 1/2 jigger syrup, 2 jiggers of bourbon, couple drops of bitters, a little of cherry juice and then stir around.  Carefully place in ice ball, garnish with cherry and mint. Lastly, enjoy!

*Simple syrup recipe- condensed 1 to 1 water to raw sugar boiled until dissolved with cinnamon and cloves

Fun fact: This bourbon is made right here in Georgia! Americus, GA to be exact!