
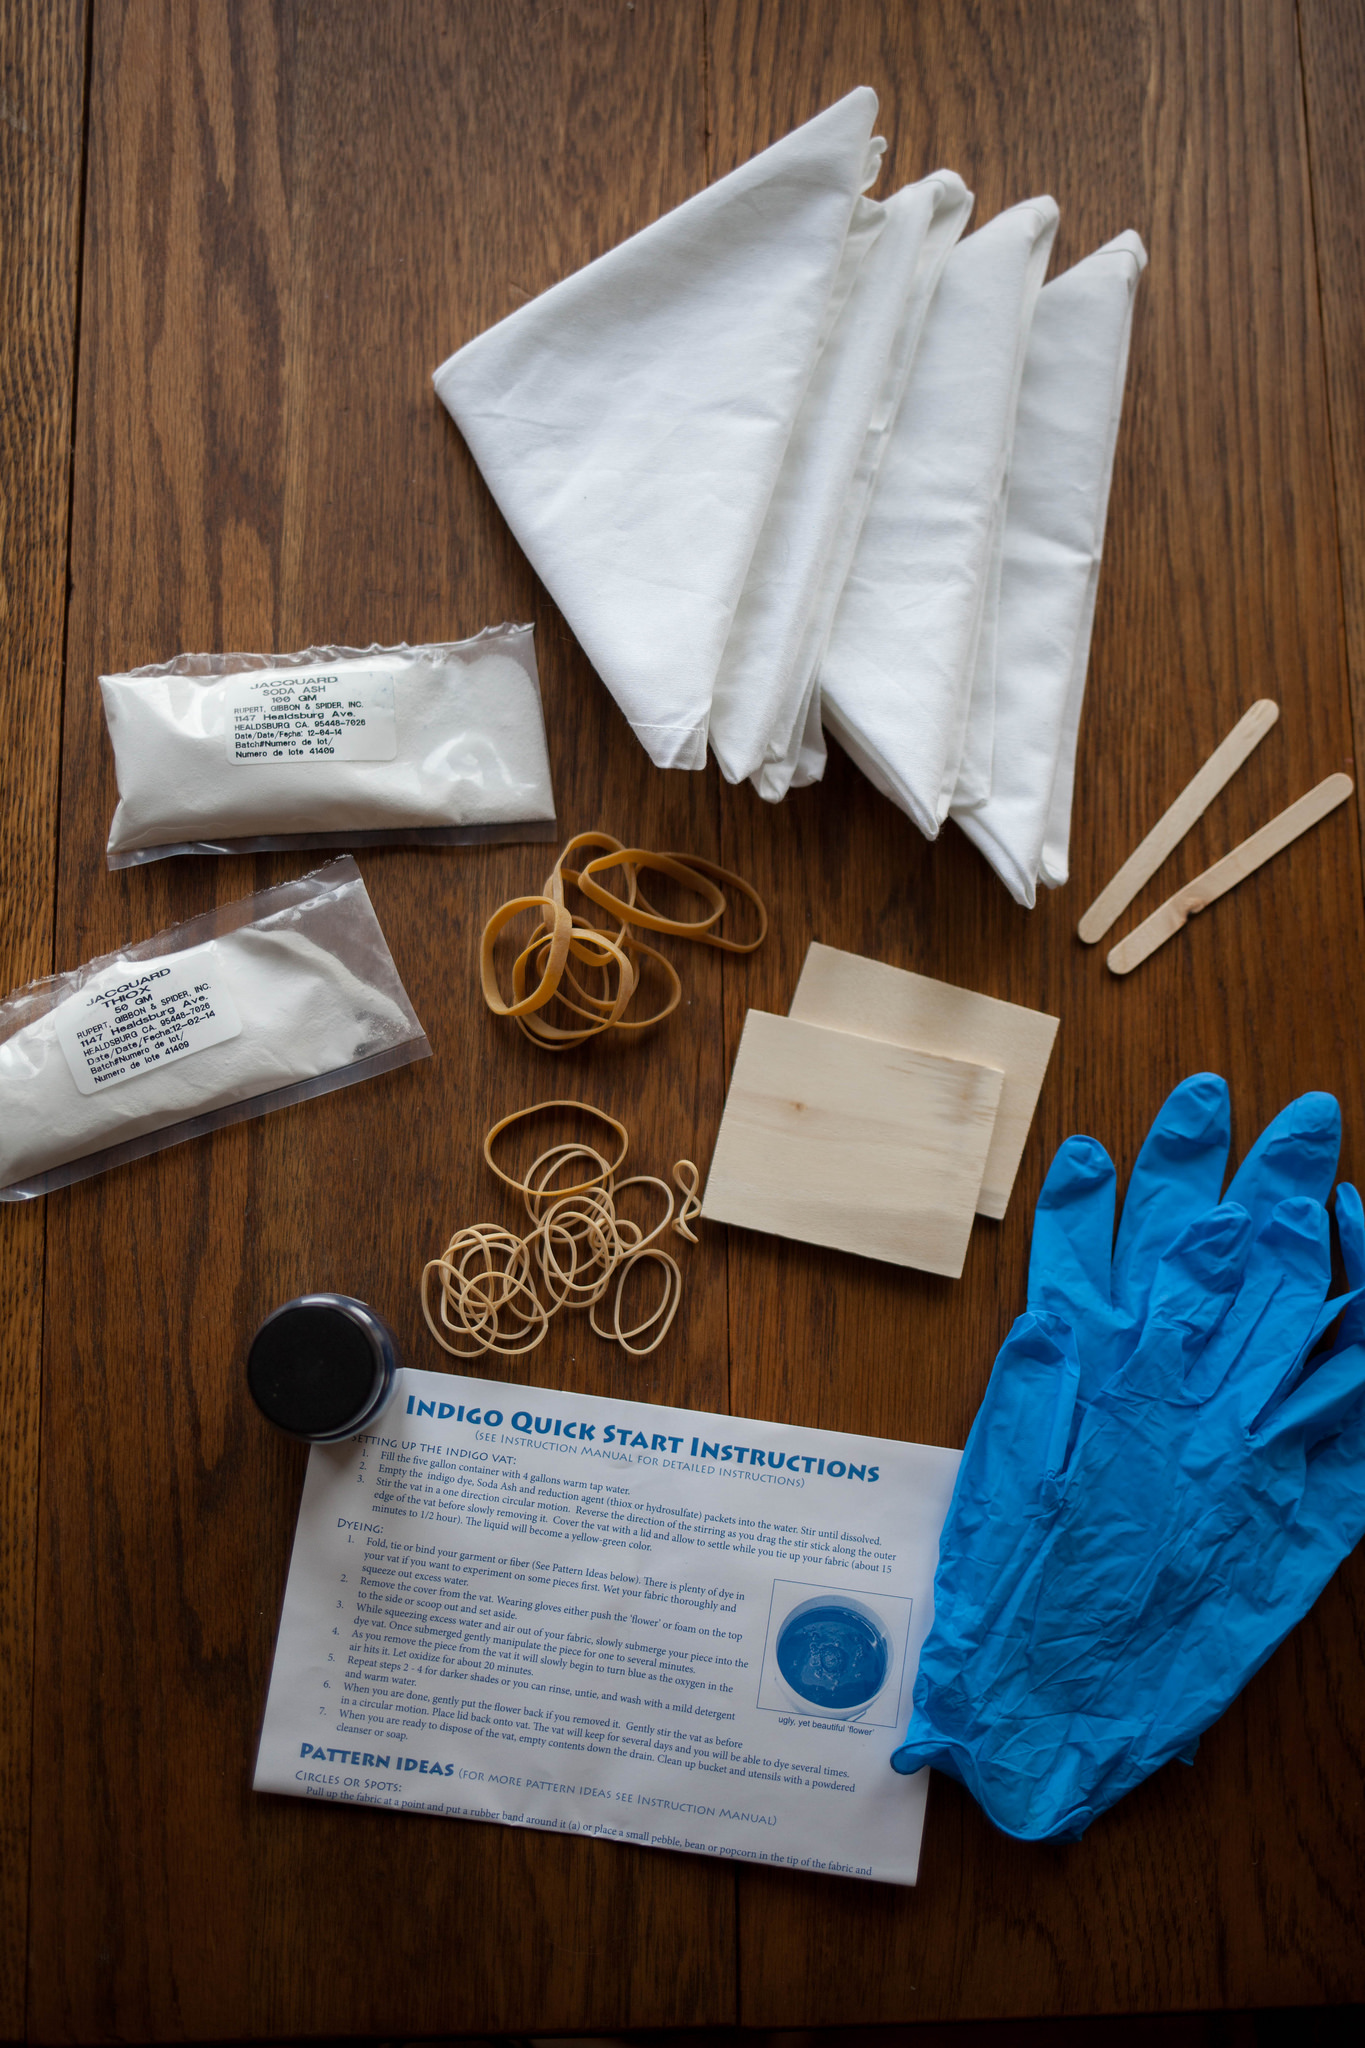
Lately I’ve been bursting with creativity, from home projects to weaving. Not sure what exactly has sparked this inspiration, maybe it’s the new house and ample space, whatever it is I’m taking full advantage! Over the weekend I tried my hand at indigo dying which has been something I’ve wanted to try ever since I was hippie’d out wearing tye-dye and listening to jam bands. I’ve noticed that it’s become really popular and saw dinner napkins I really liked so I set out to attempt my own. Figuring it’d be easiest to buy a kit, I looked to Amazon and found a very inexpensive kit that would fit my needs. The exact one I bought is here and the napkins came from Hobby Lobby but I couldn’t locate them on their site to share but any 100% cotton ones will work. Buying everything in one package was such a better idea than tracking down all the ingredients individually, I highly recommend this route!
Since the kit came with all the components, including instructions, I just followed those only altering the amount of chemicals. The kit says it’s “mini” but it actually dyes up 15 shirts so if you’re doing something small like napkins, just take the mixtures and divide accordingly. This particular kit says to use 4 gallons of water but we used one gallon so we divided the mixes into fourths and it worked out perfectly.
Again, you can follow the directions in the kit just fine. I altered nothing about that but I do want to share some tips and things I’d change the next go around.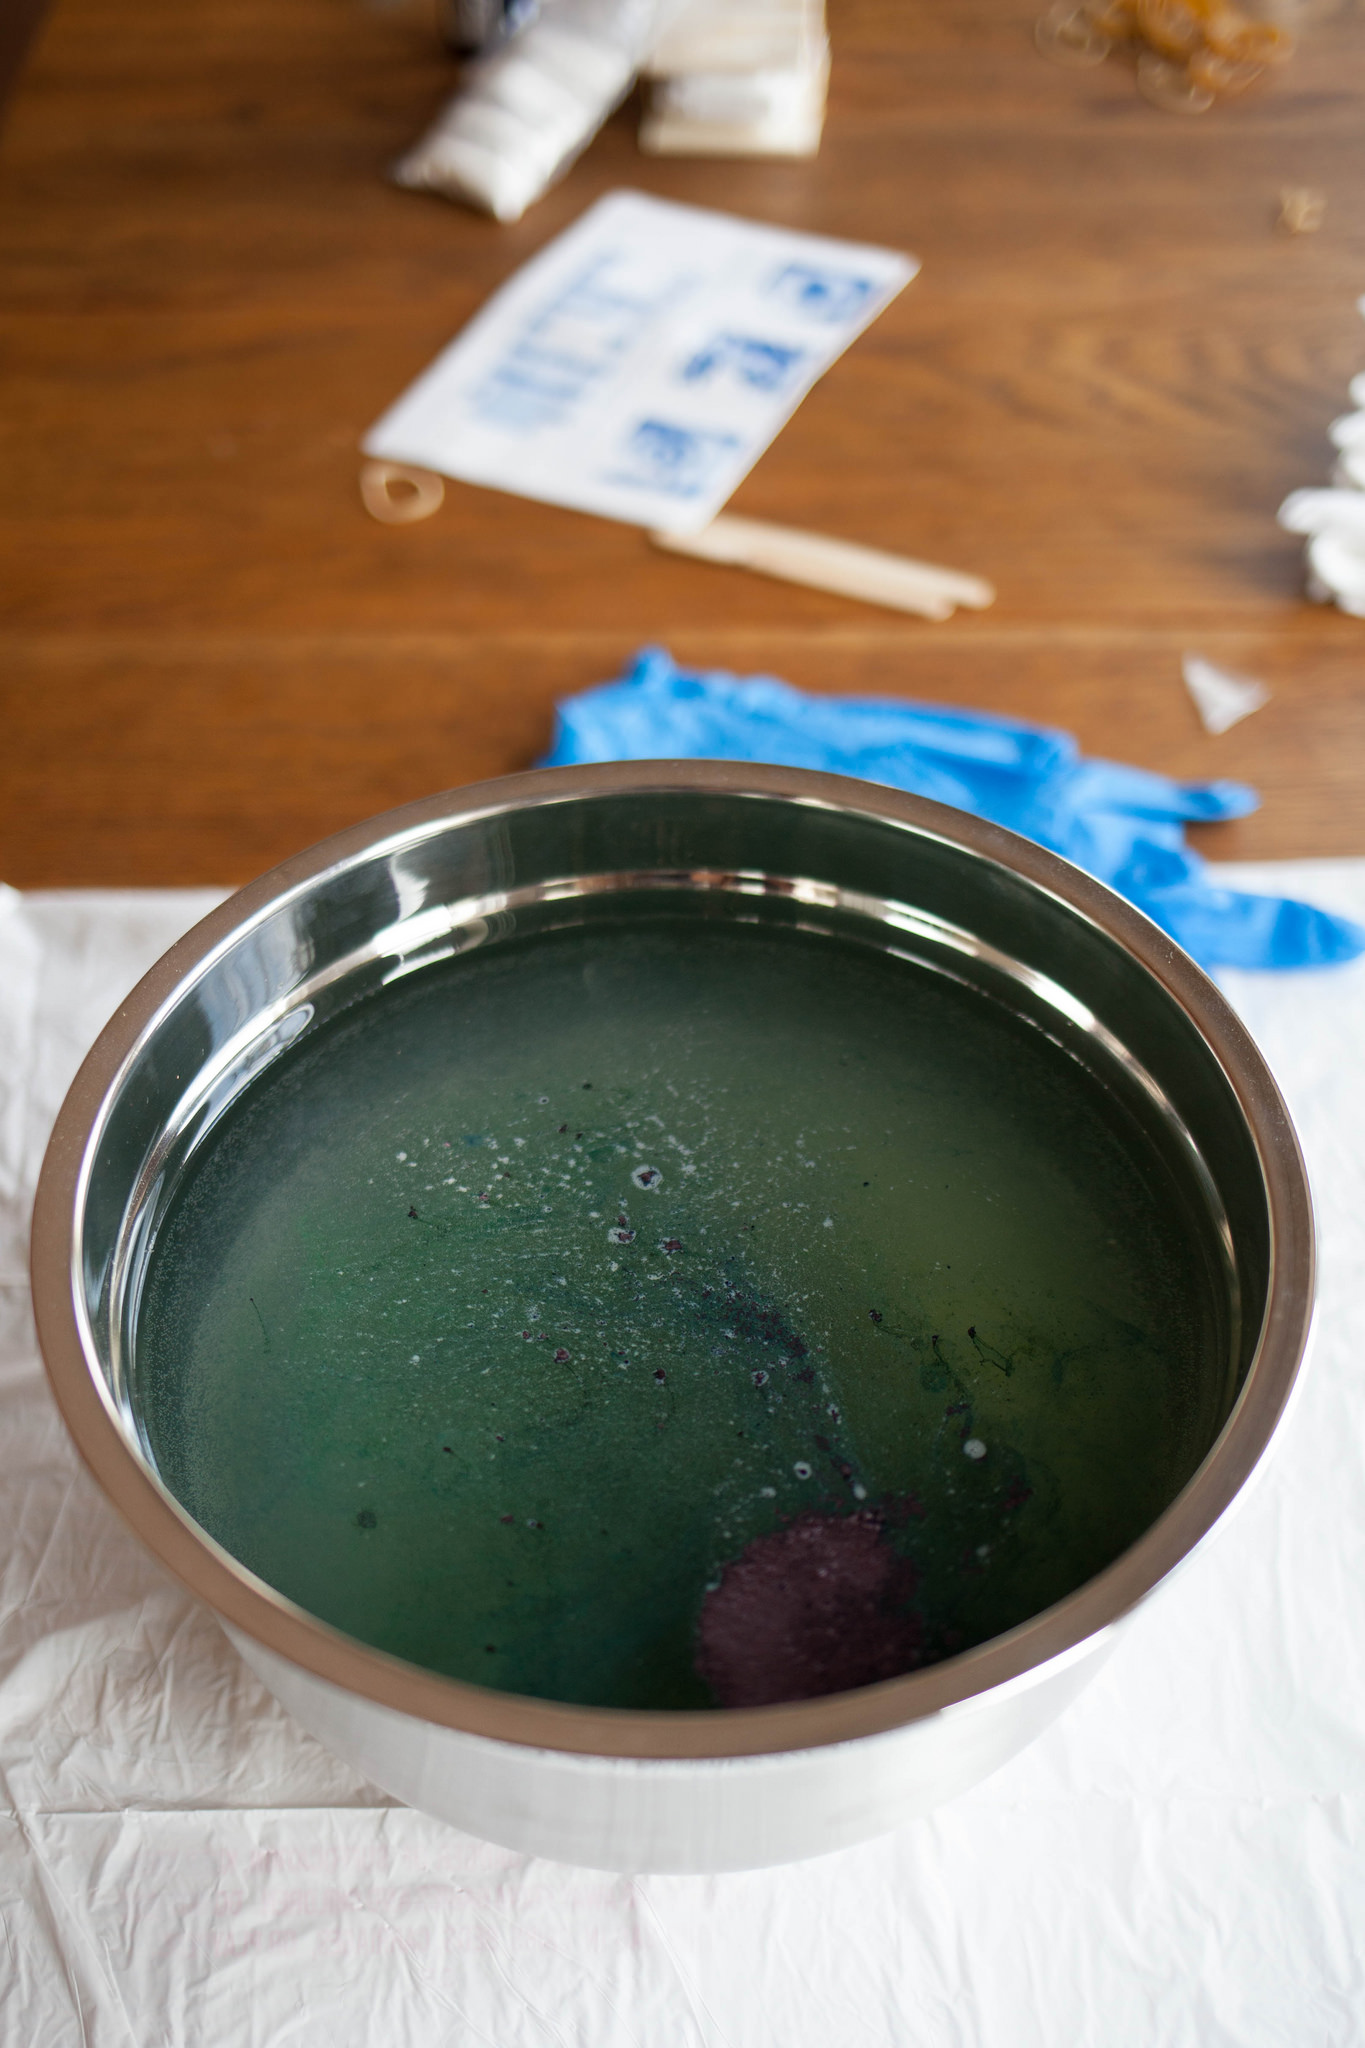
The directions say to use a huge bucket but I used a stainless steel bowl and it worked fine for this small of a project. When you first mix all the chemicals together it’ll look more yellow-green, give it the recommended time 15min or if you’re doing a small batch, it’ll be ready in less time.
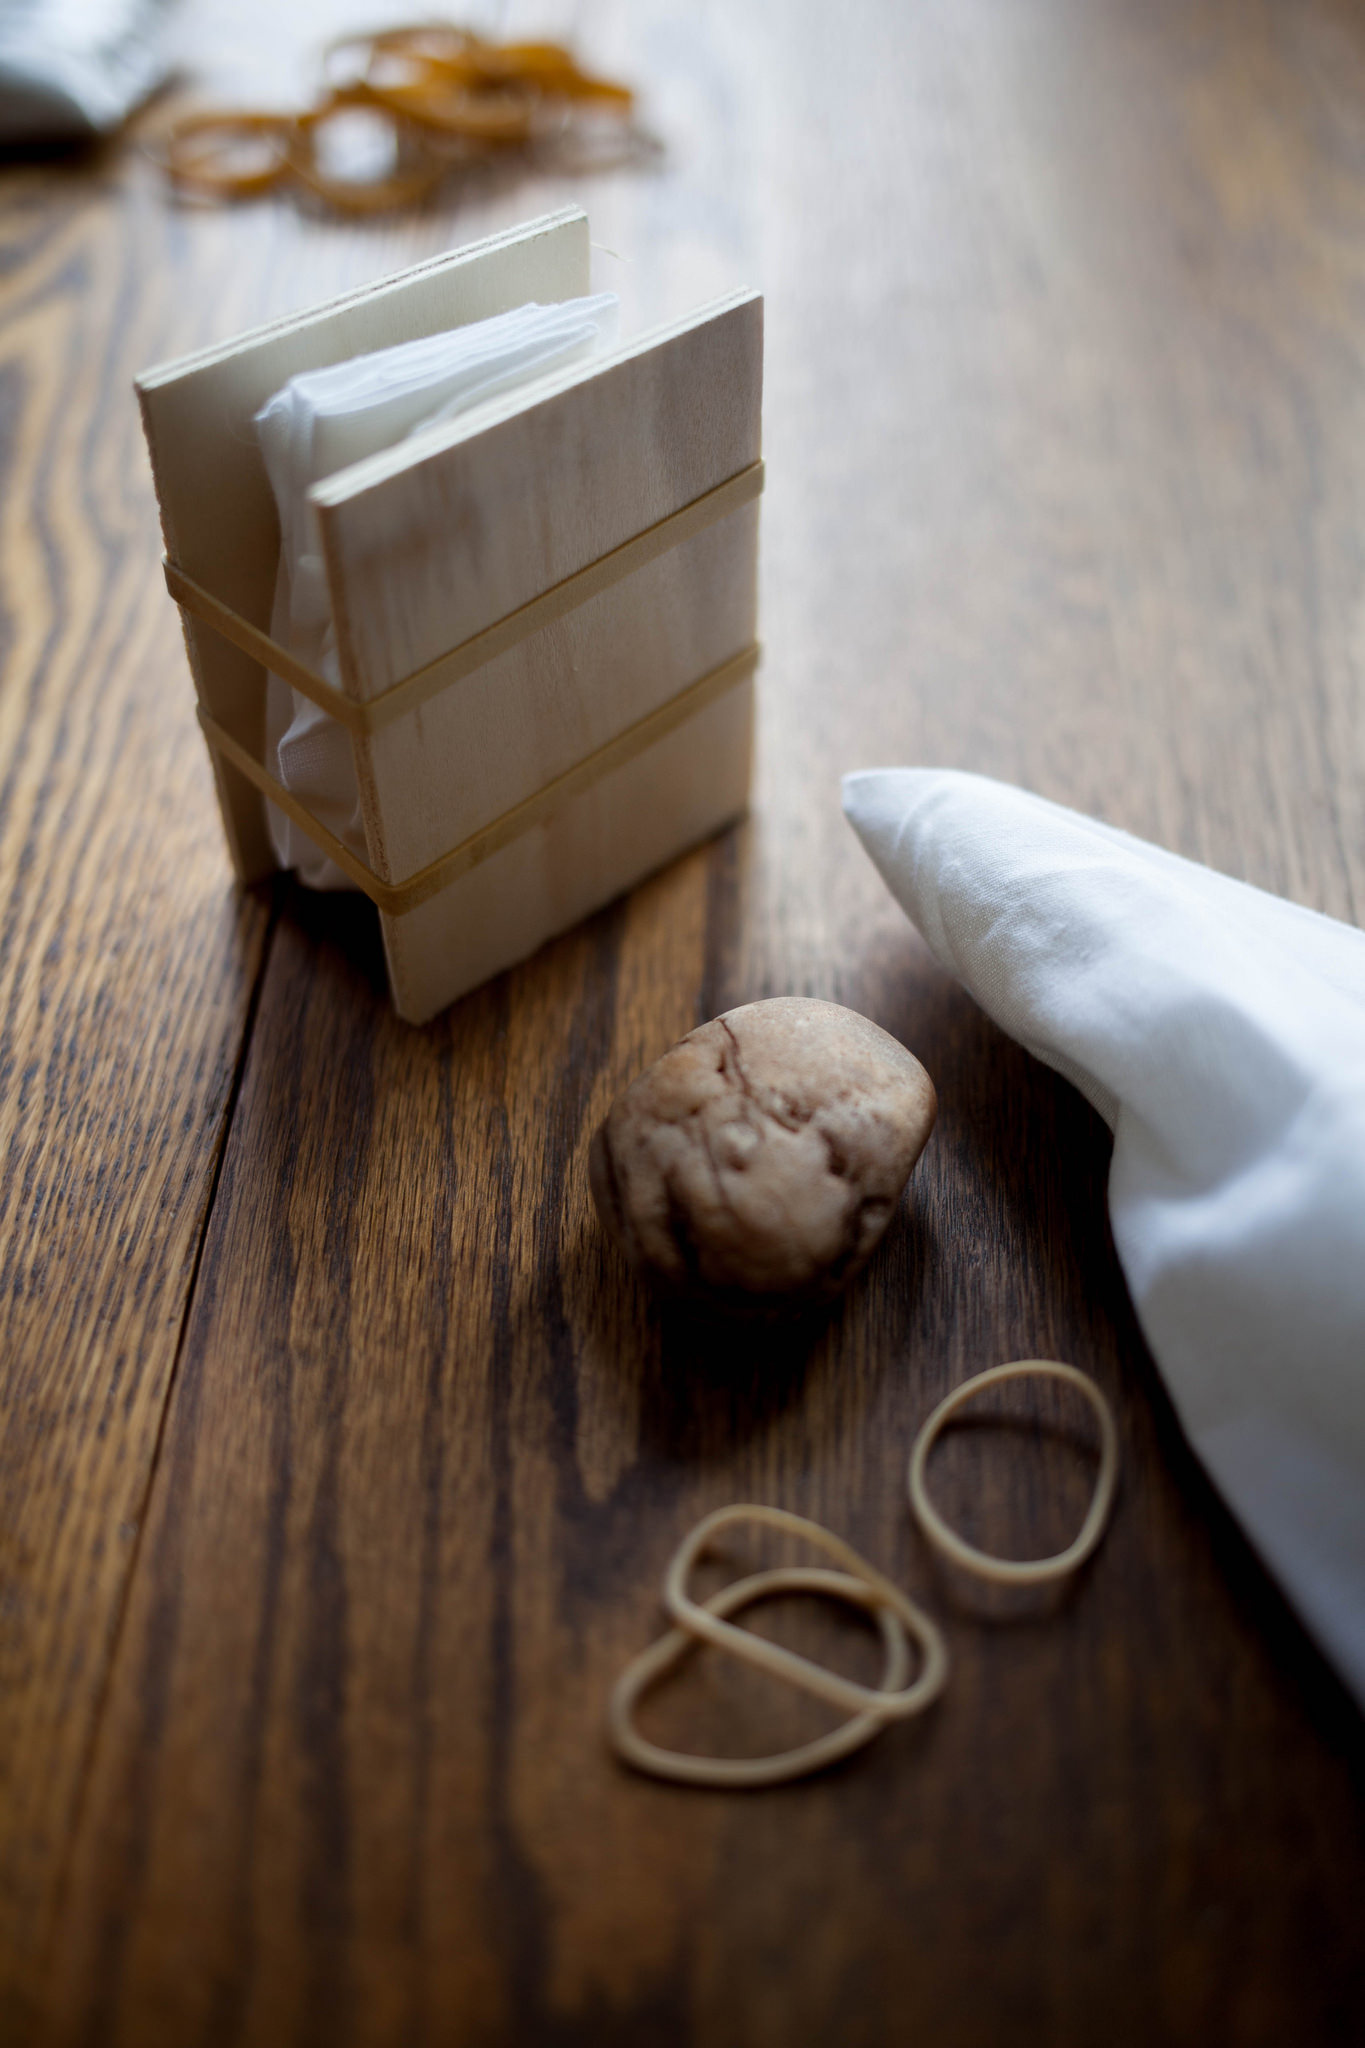
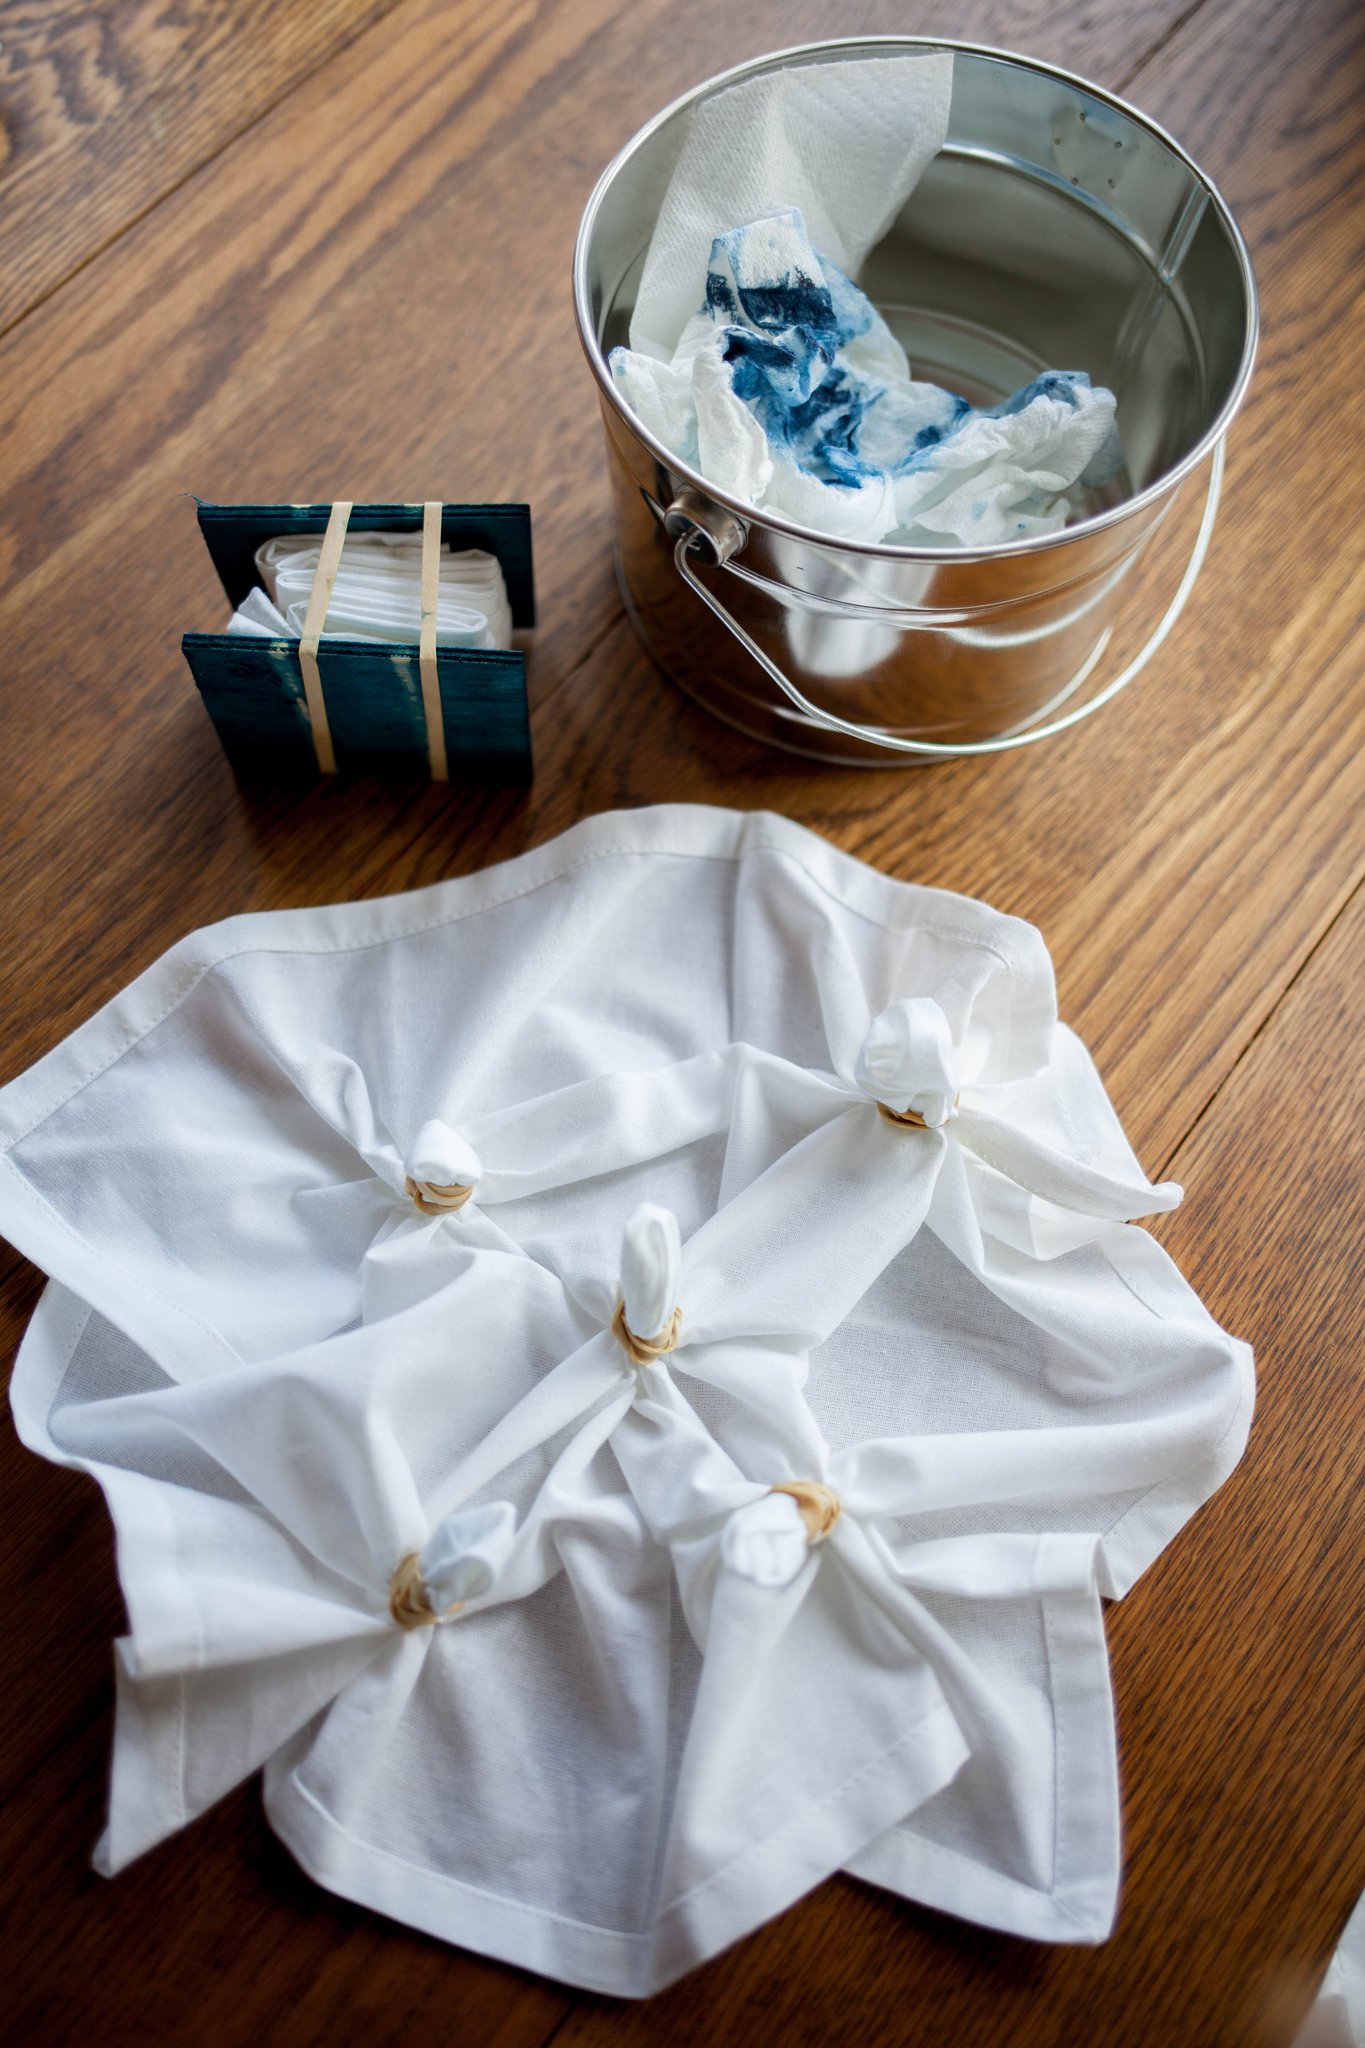
This is what the accordioned fabric and wood panels look like when assembled. The above rock was placed in the end of the napkin and tied off with rubber bands (below). This is what the directions said to do but really the rock made little difference in the end that I could tell since the tip was completely dyed blue minus a few specks.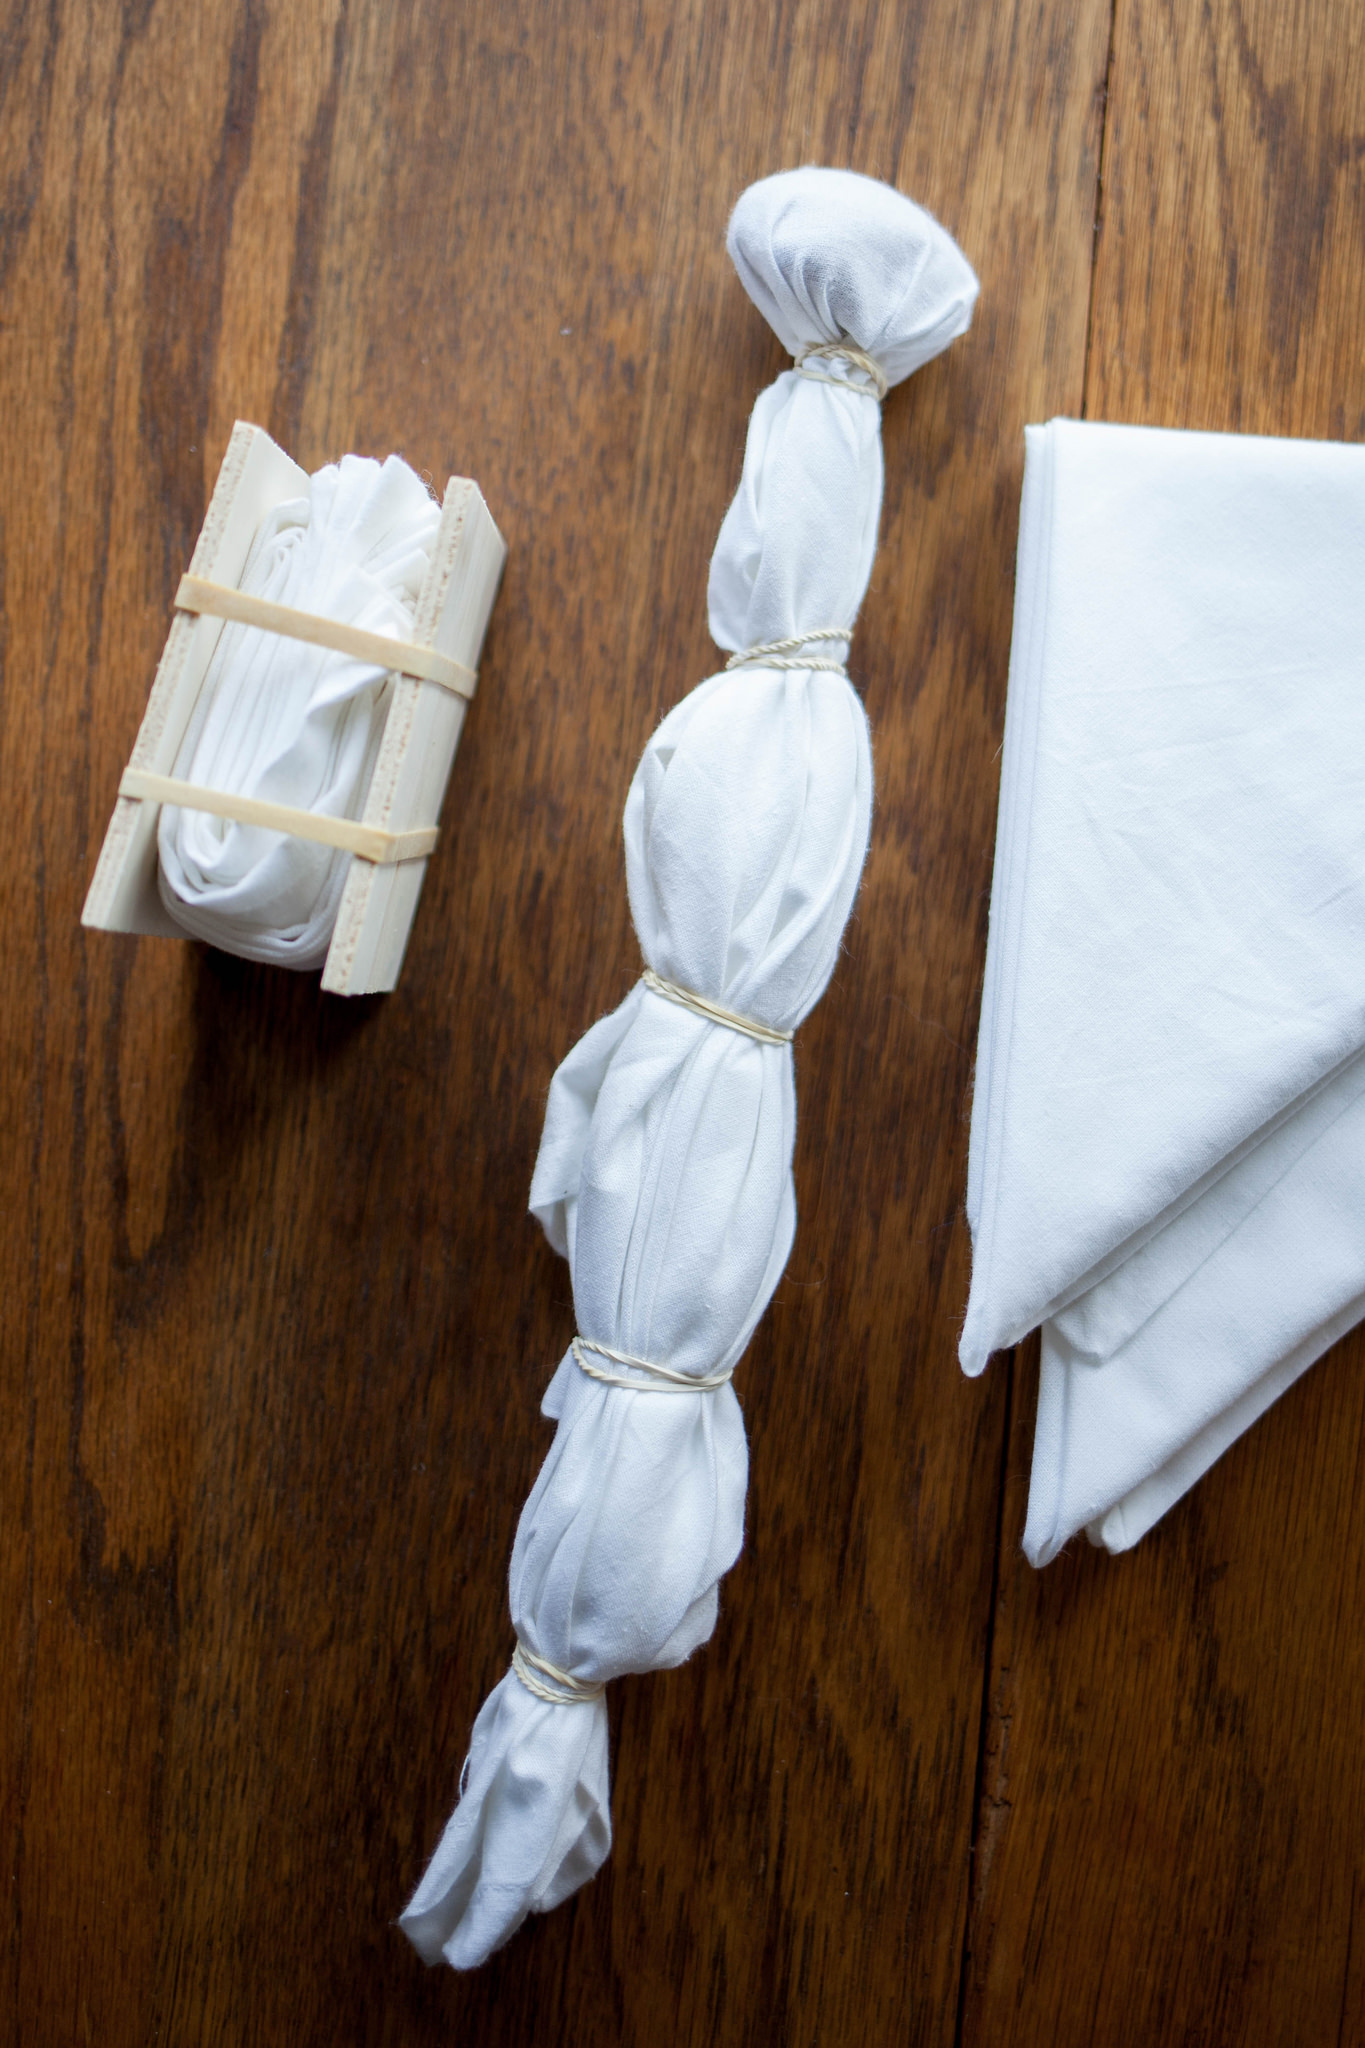
For the first round I did the wooden press, which ended up being my favorite pattern, and the long cinched pattern with the pebble.
Tips: Keep the wooden pressed in longer if you want more of a defined blue area, if you want more white with only skinny blue lines then take out sooner. I didn’t time it exactly but you can tell when it’s saturated.
For the second round I redid the wooden press and then did 5 ties with rubber bands for a circle affect. I took out the pressed wood one a little too soon (which is why I suggest above to leave in longer) but the 5-circle one turned out pretty great. My circles weren’t perfect so if you do this method, and want even circles, pay close attention to the tying off grabbing even fabric and tying carefully.
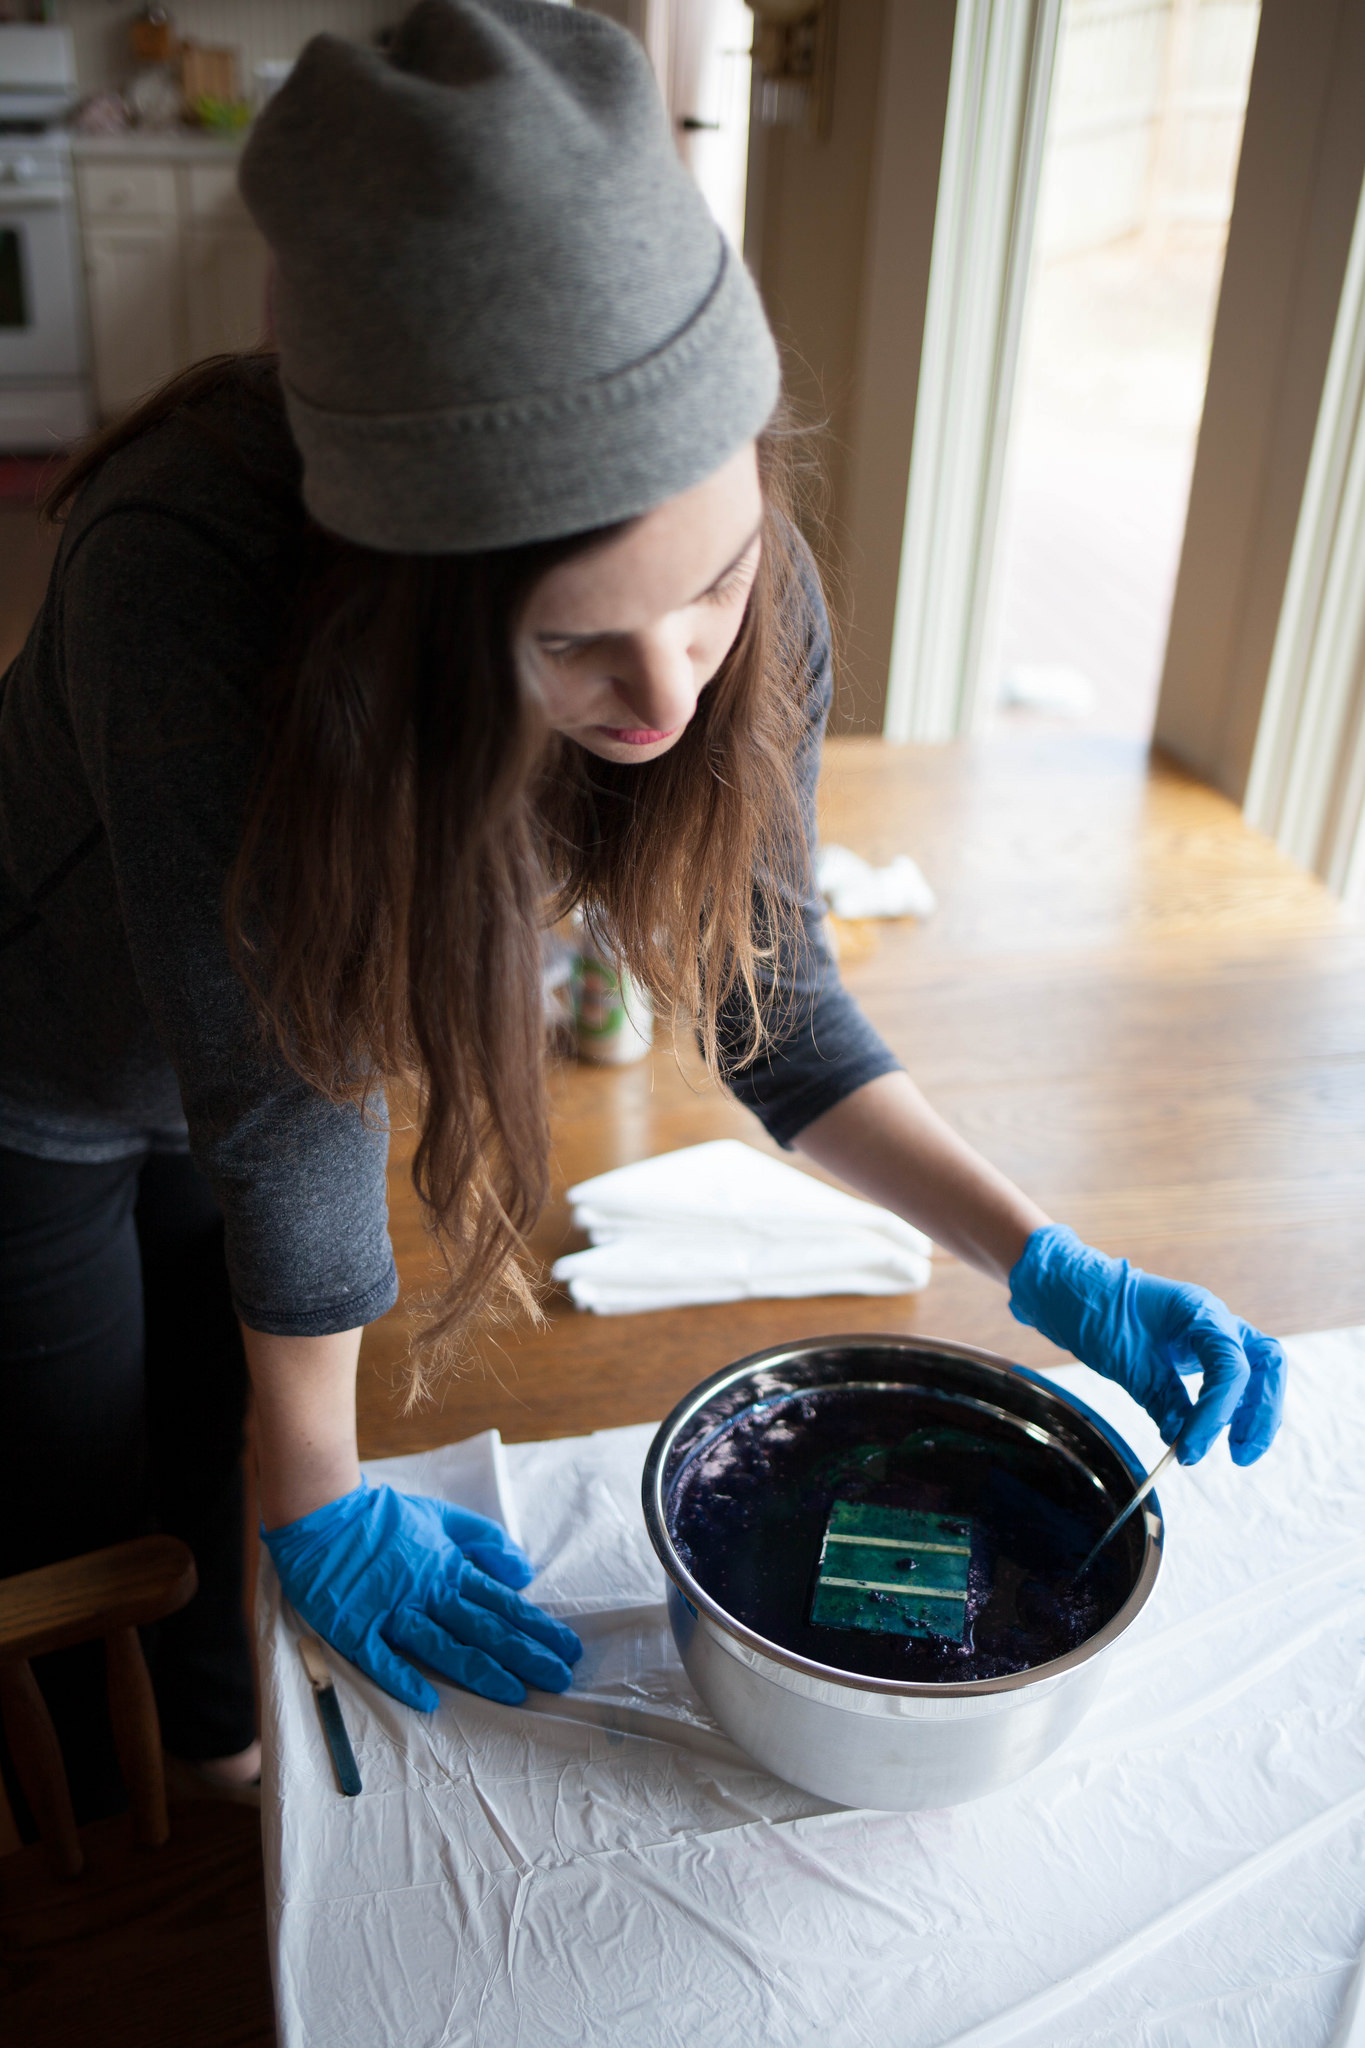
There will be floating residue you can’t mix up, it’ll stay clumped but don’t worry, Just scoot it out of the way and if it gets stuck to your fabric, it’s ok too, it makes little speckles which looks neat.

When you first take out it’ll be a weird green color, don’t worry, this is normal. When it hits air (oxygen) it’ll start to turn blue. Taking off the rubber bands with gloves on was pretty tough so I just cut them off with scissors. After you take off the rubber bands, let them lay out and fully oxidize. Once they are a dark blue color, rinse with water. I washed them with a little bit of Woolite before I ran through my washing machine so it didn’t make a huge mess. Originally I was dying inside but moved to the back yard. It’s not too messy but outdoors definitely felt safer.
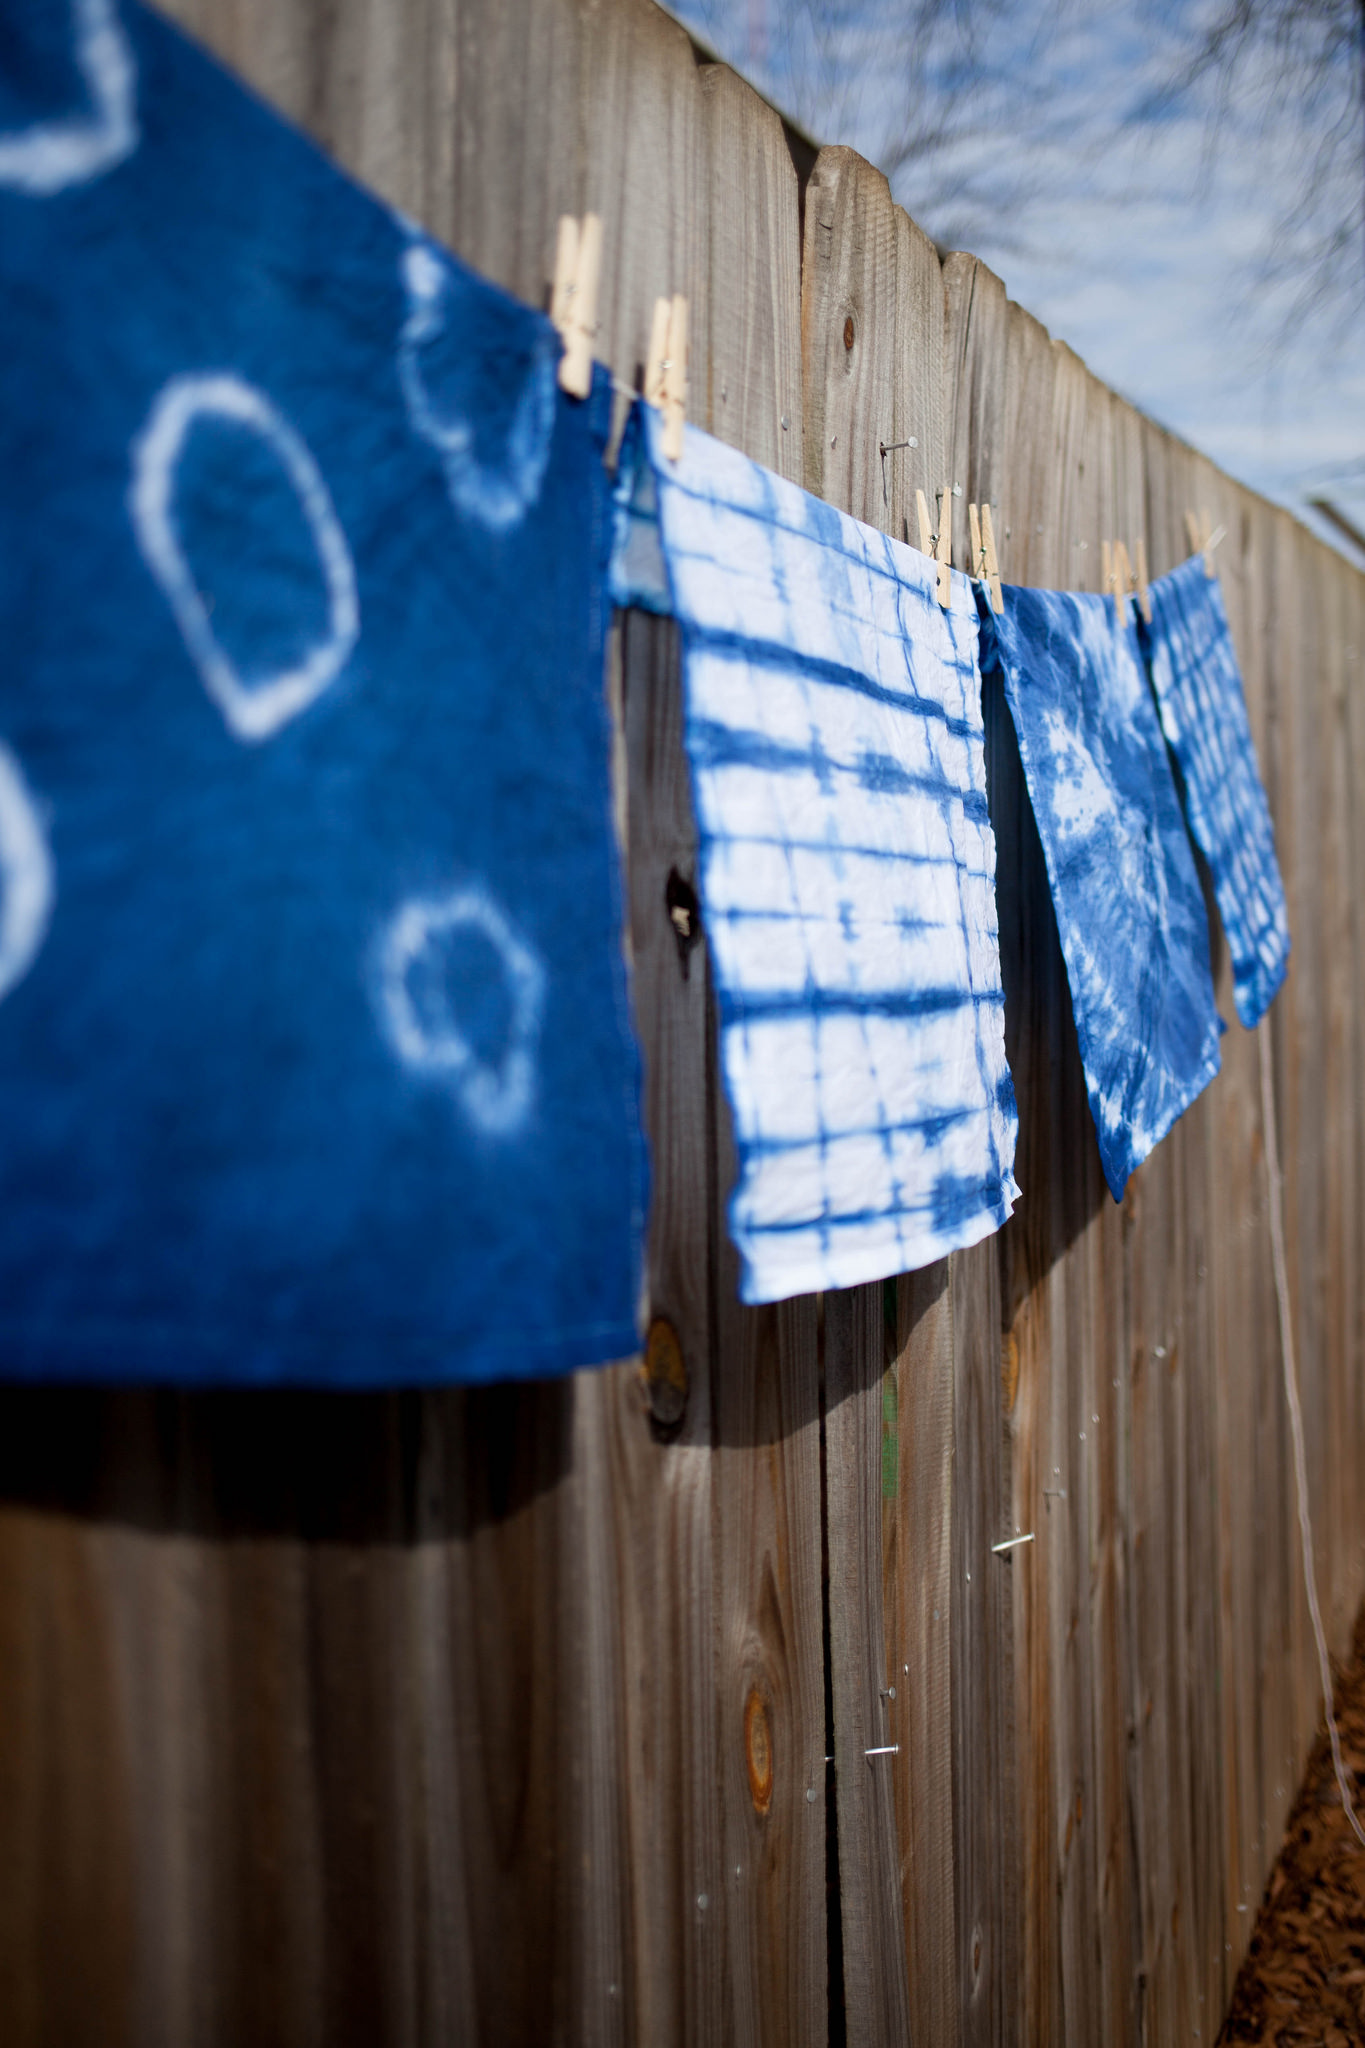
These patterns were in the directions of the kit but I’m sure you could play around and get some wacky designs!
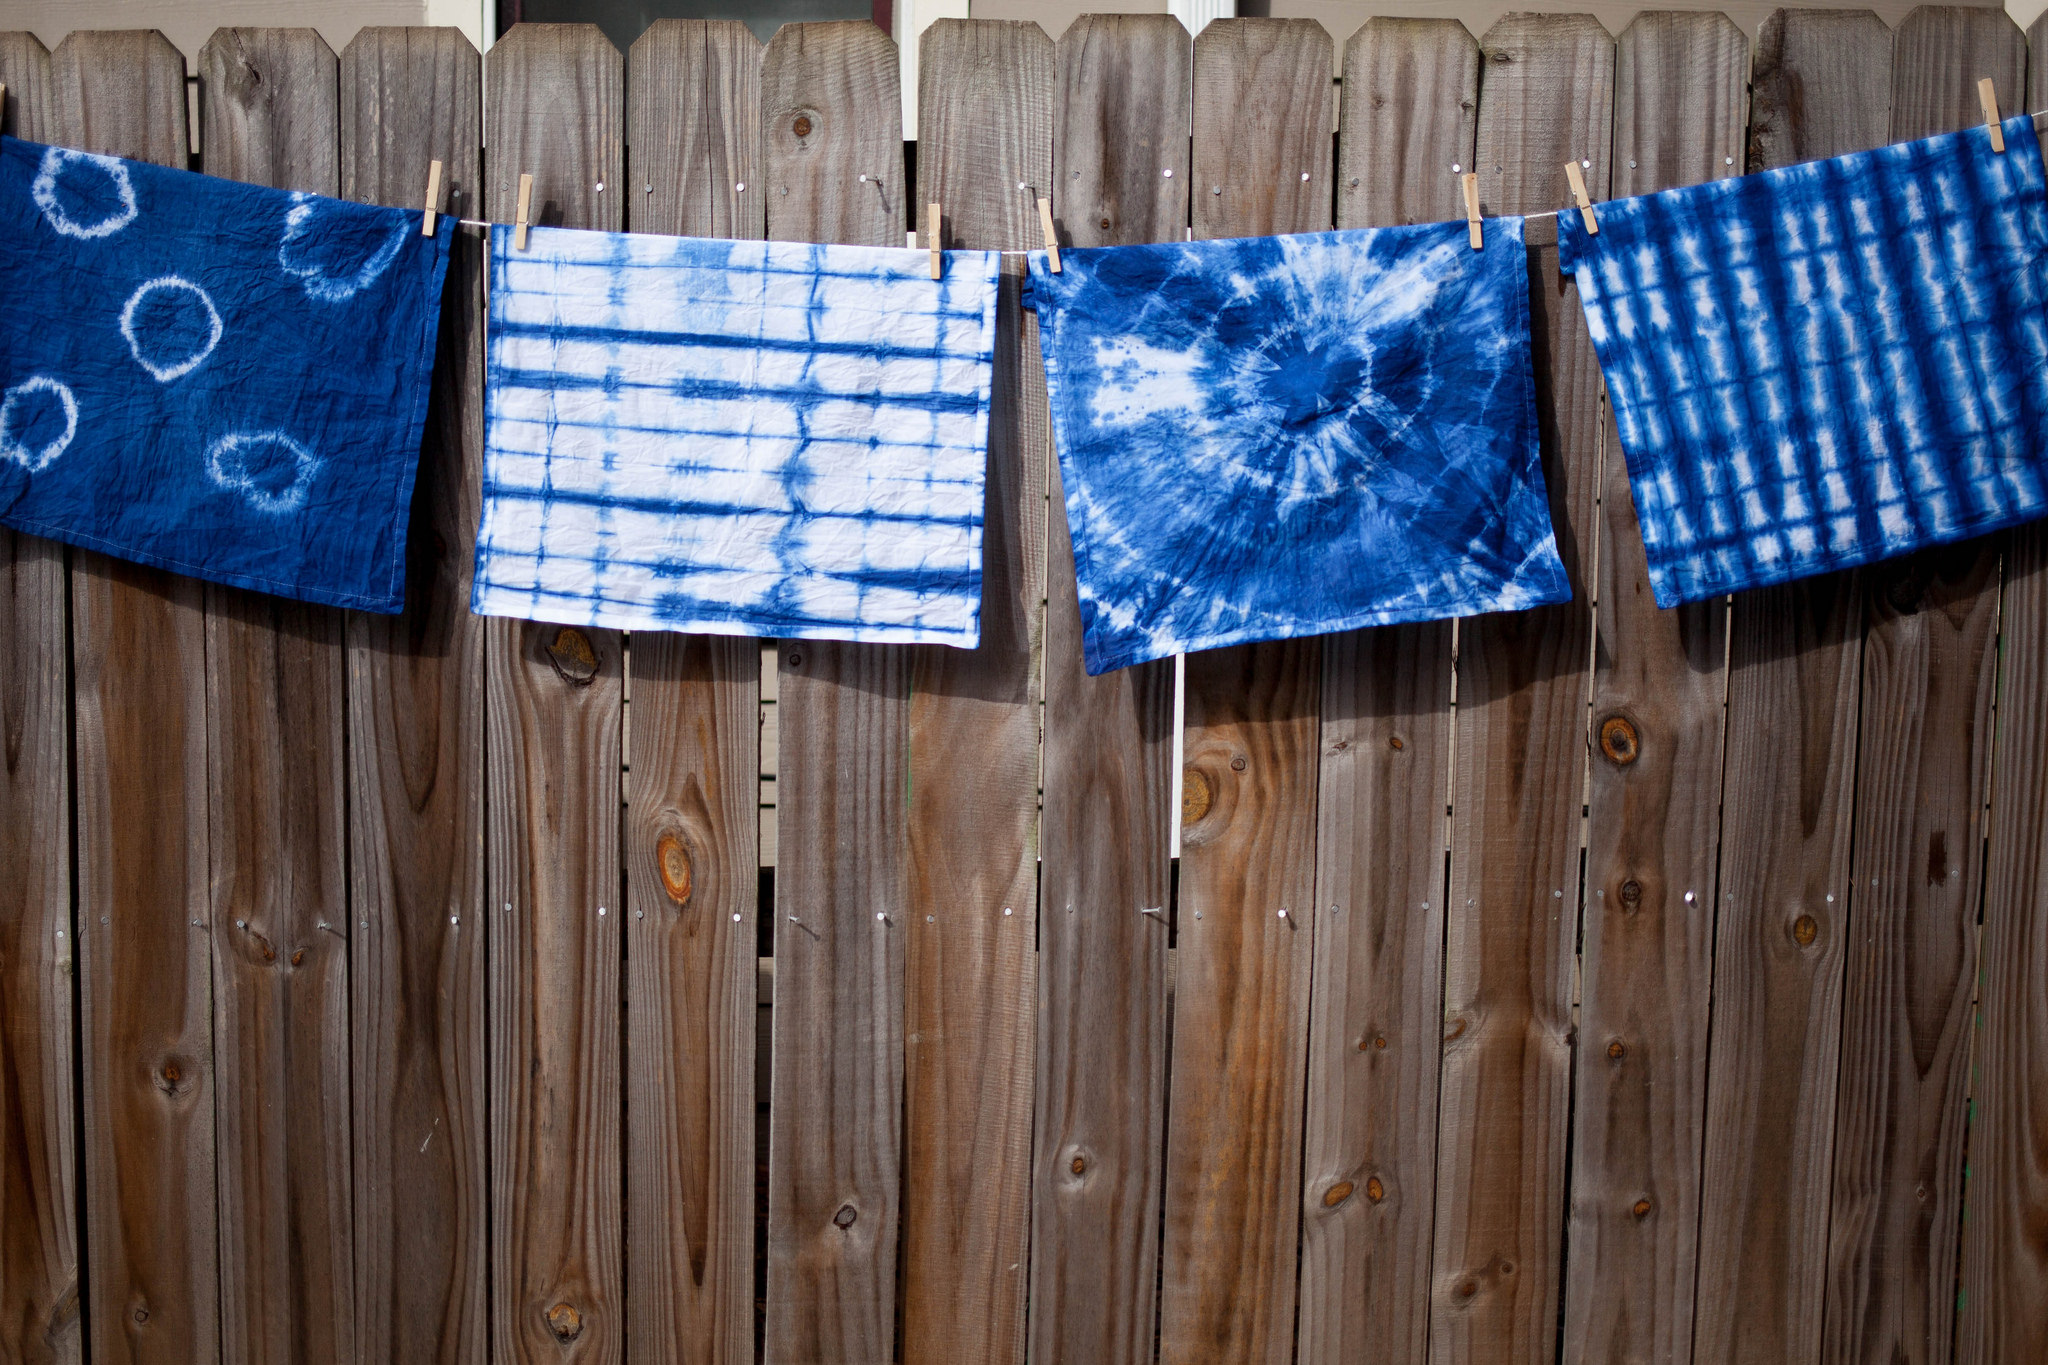
I’m really happy with the turn out! I had a blast playing chemist and once I saw the turn out, I searched the house for white linens to dye-even thought about upgrading all my socks-but decided to hold off for the next go around. Maybe a duvet or curtains?!

No Comments